26 Quail Circle
Garage
Click on an image to enlarge
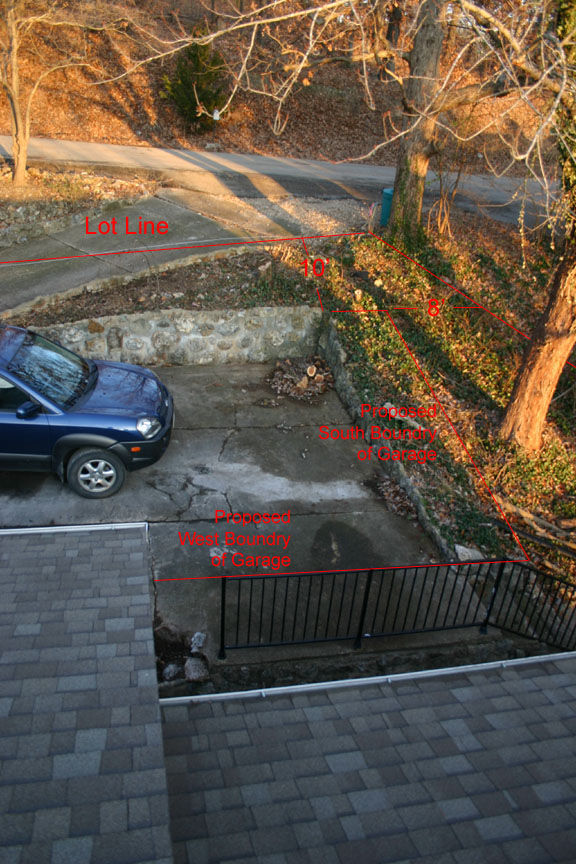 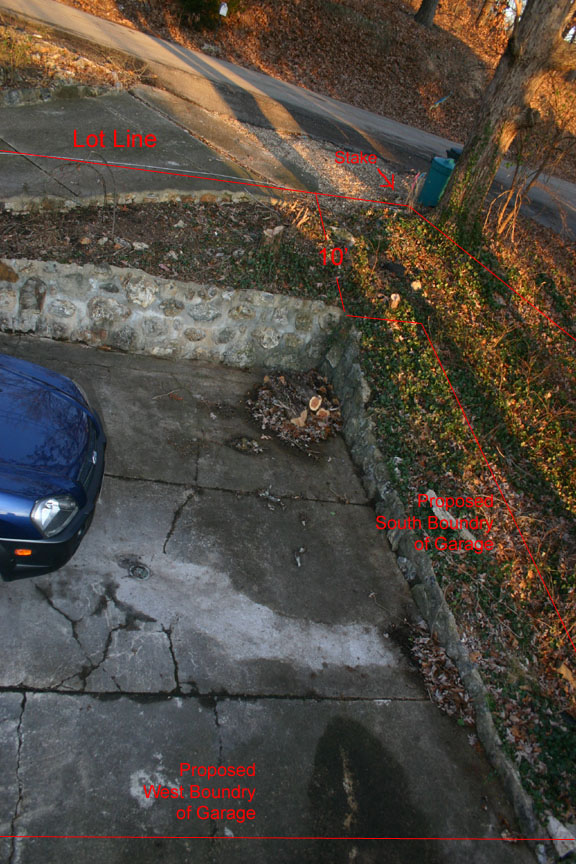 |
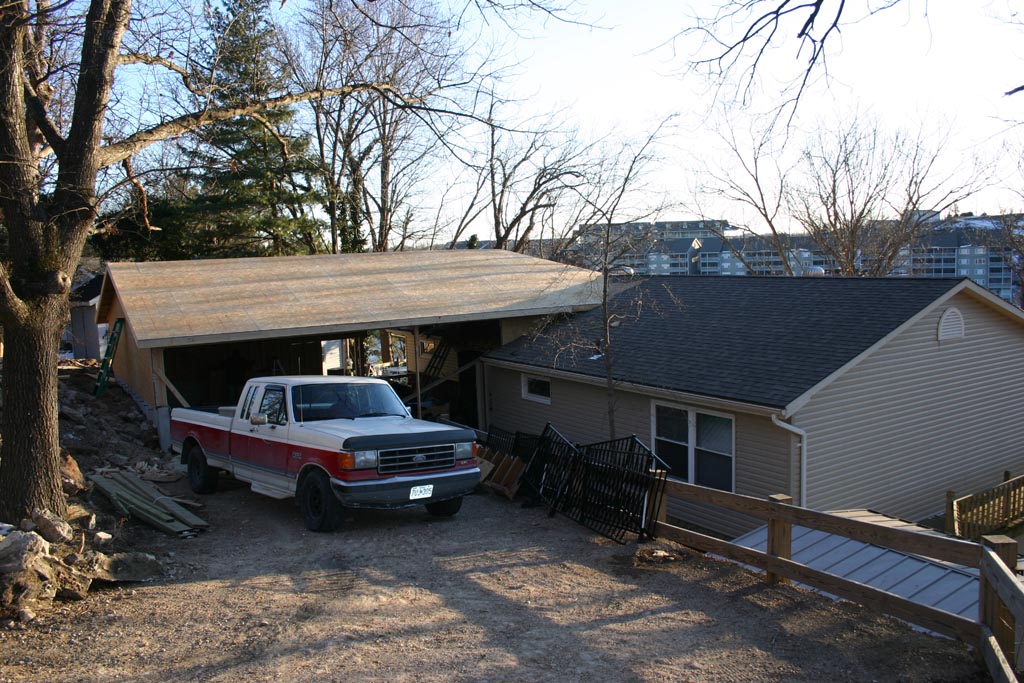
Fall of '08. The garage would sit in the existing parking area, but be extended 2' to the South to avoid blocking the front door view. |
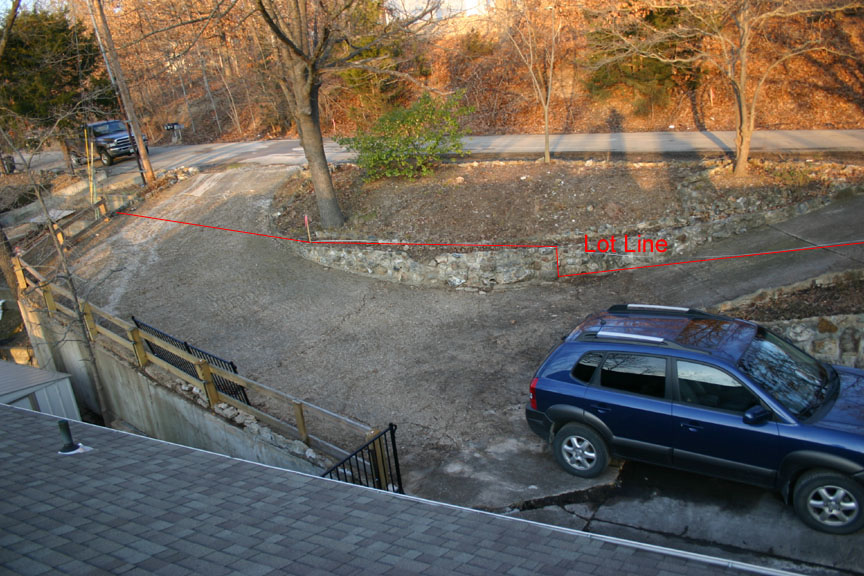 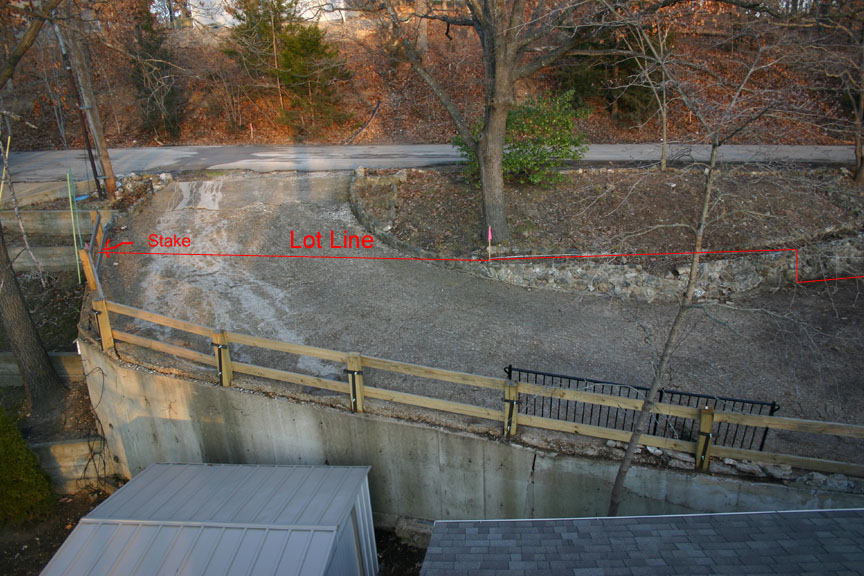 |
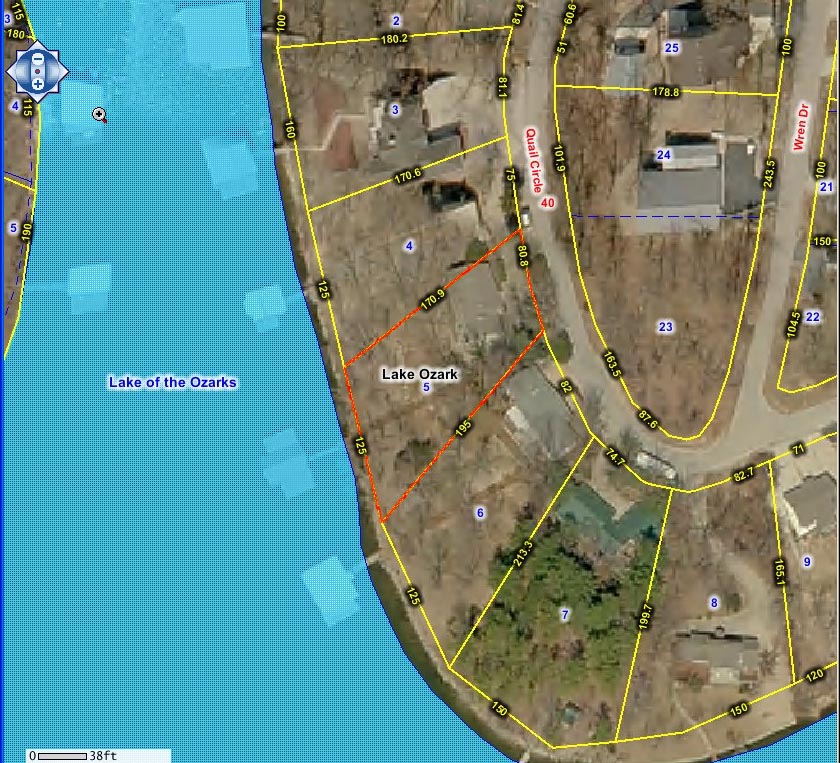
The property line dips considerably into the landscaping part of the circular drive. Because of the slope of the lot, there is no feasible way (nor reason to) for the city to ever expand the current street width. Traffic will never increase because of the dead end. |
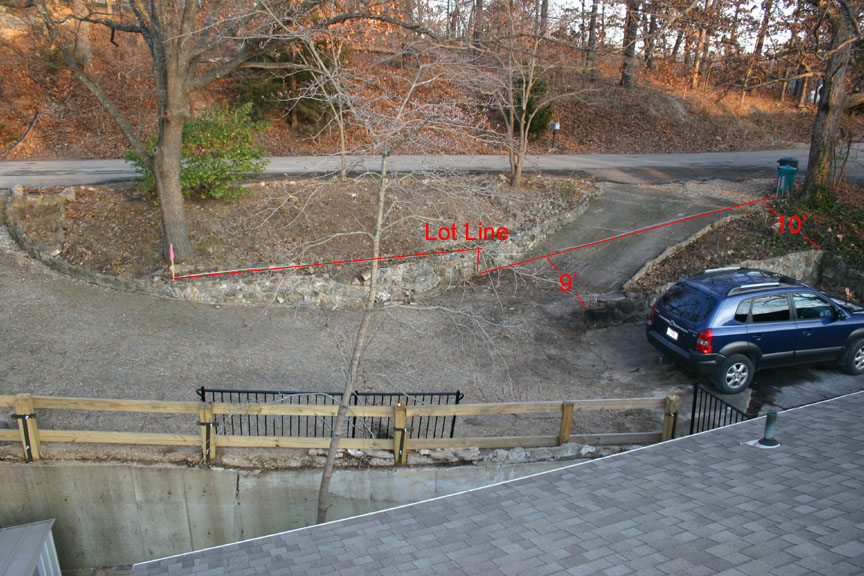 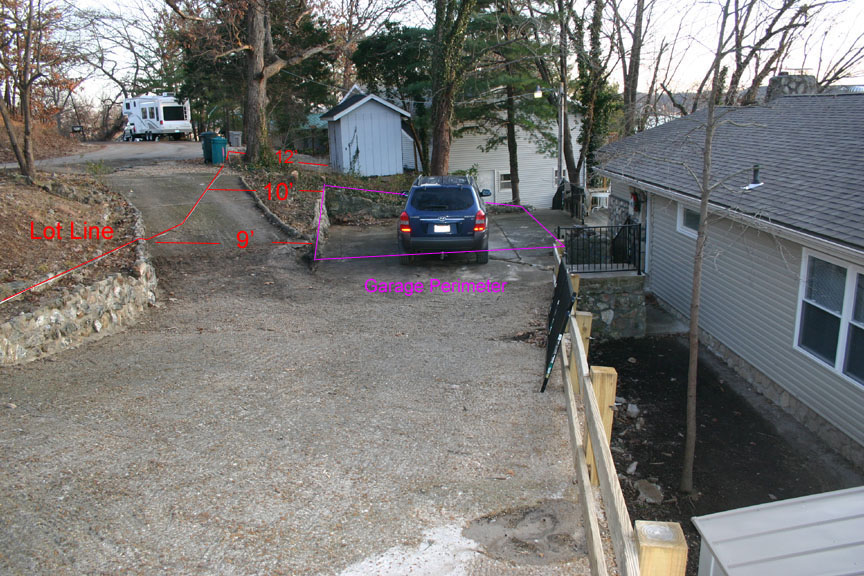 |
#5 and #6 show the distances from the retaining wall to the property line. Notice the 8X8' shed on my neighbor's property is only 12' away from their property line. |
  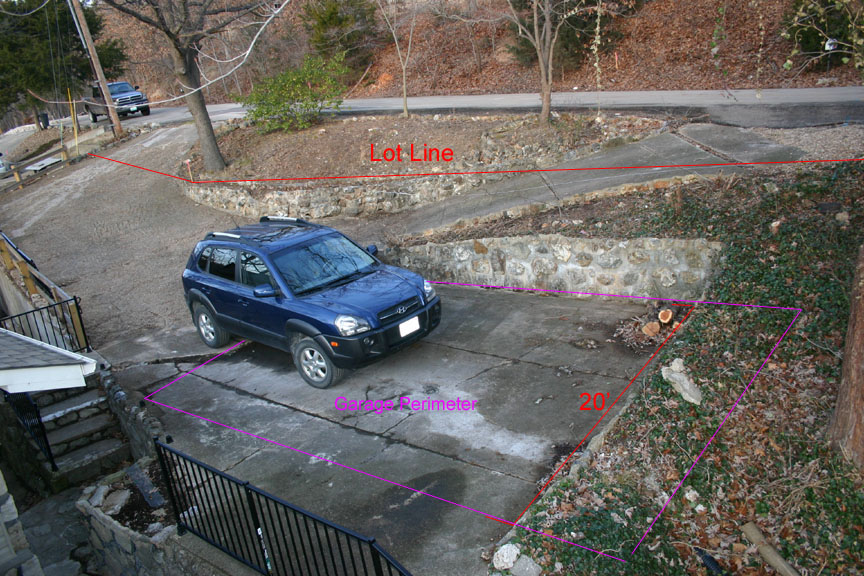 |
#8 and #9 show the perimeter of the garage. |
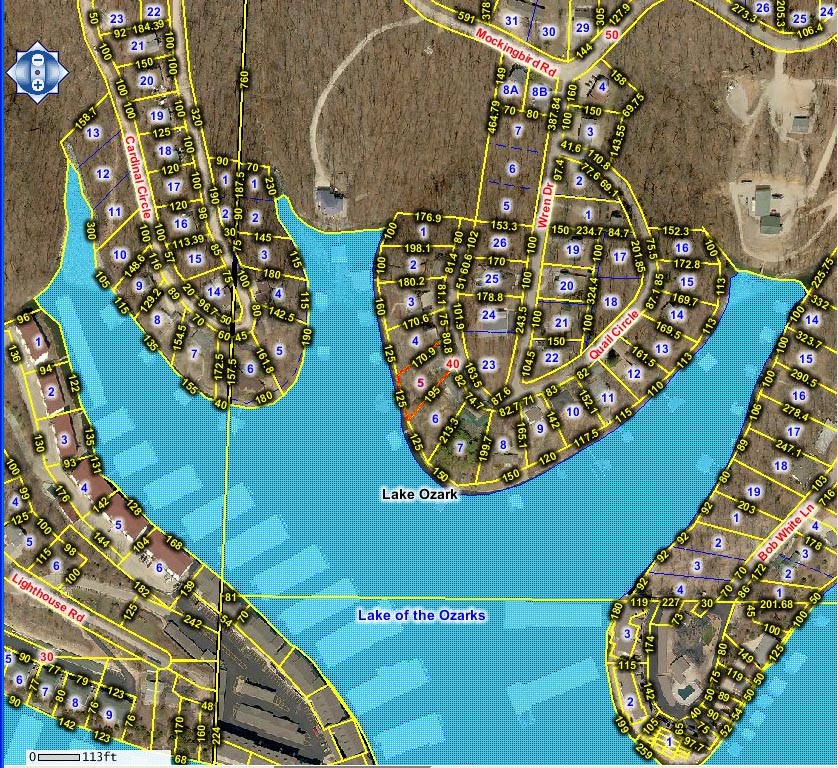  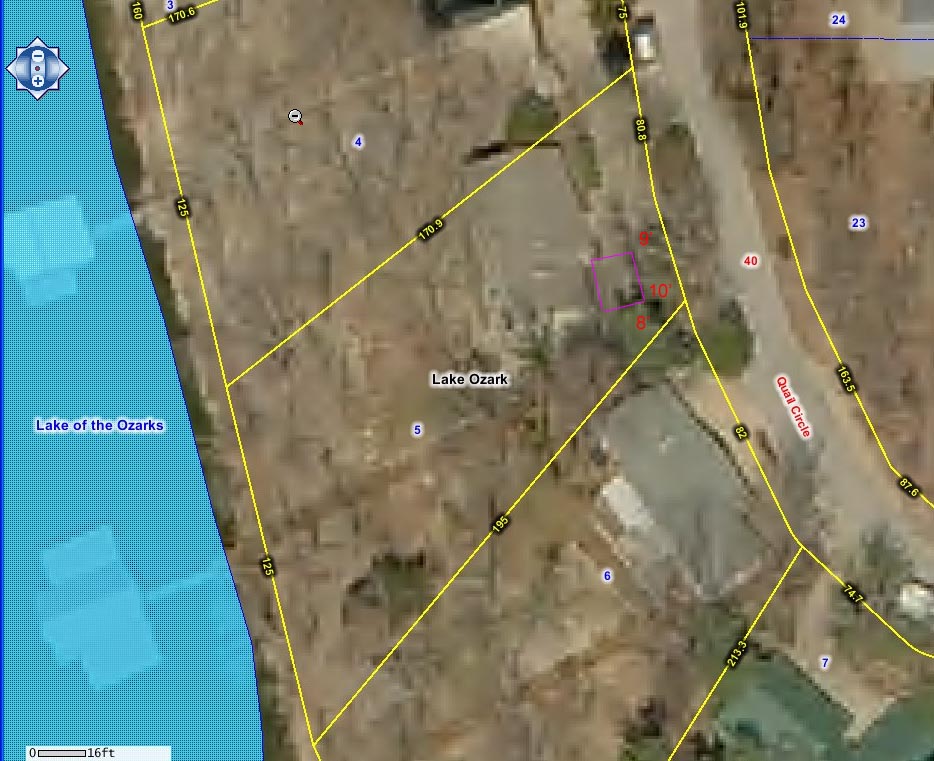 |
Miller County GIS images. The third one shows the proposed garage outlined. |
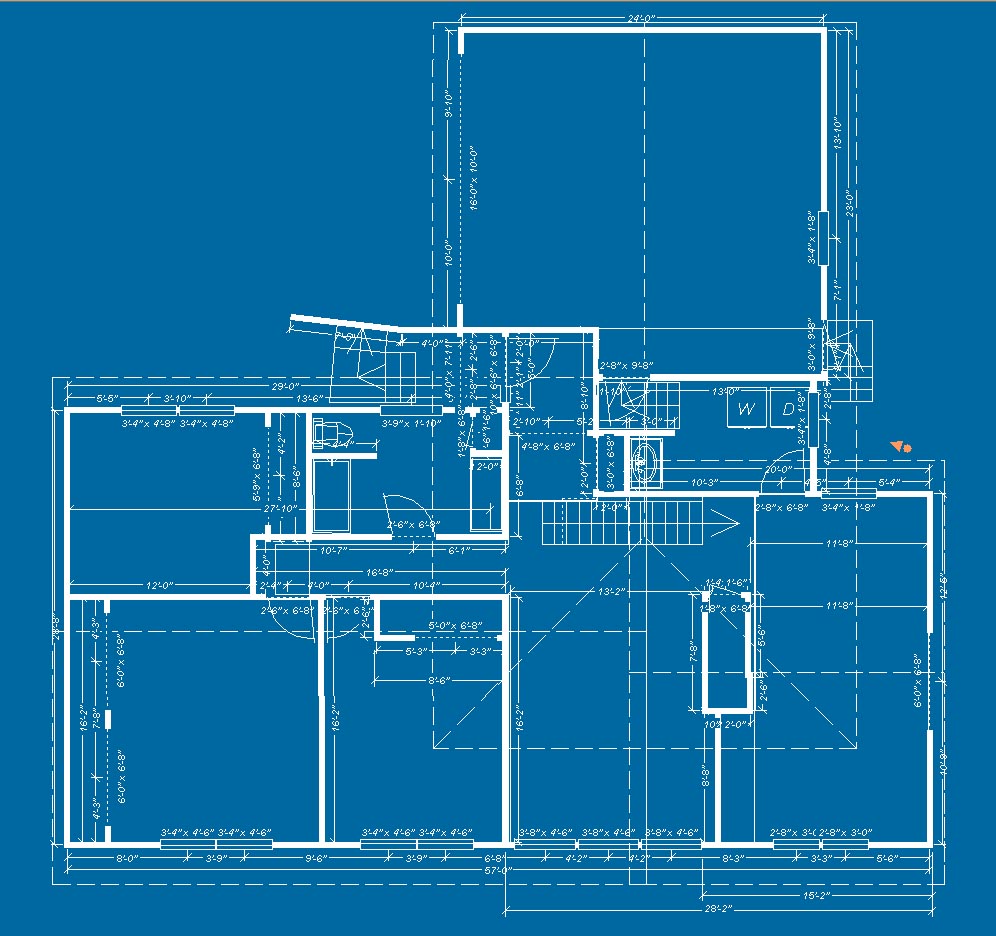 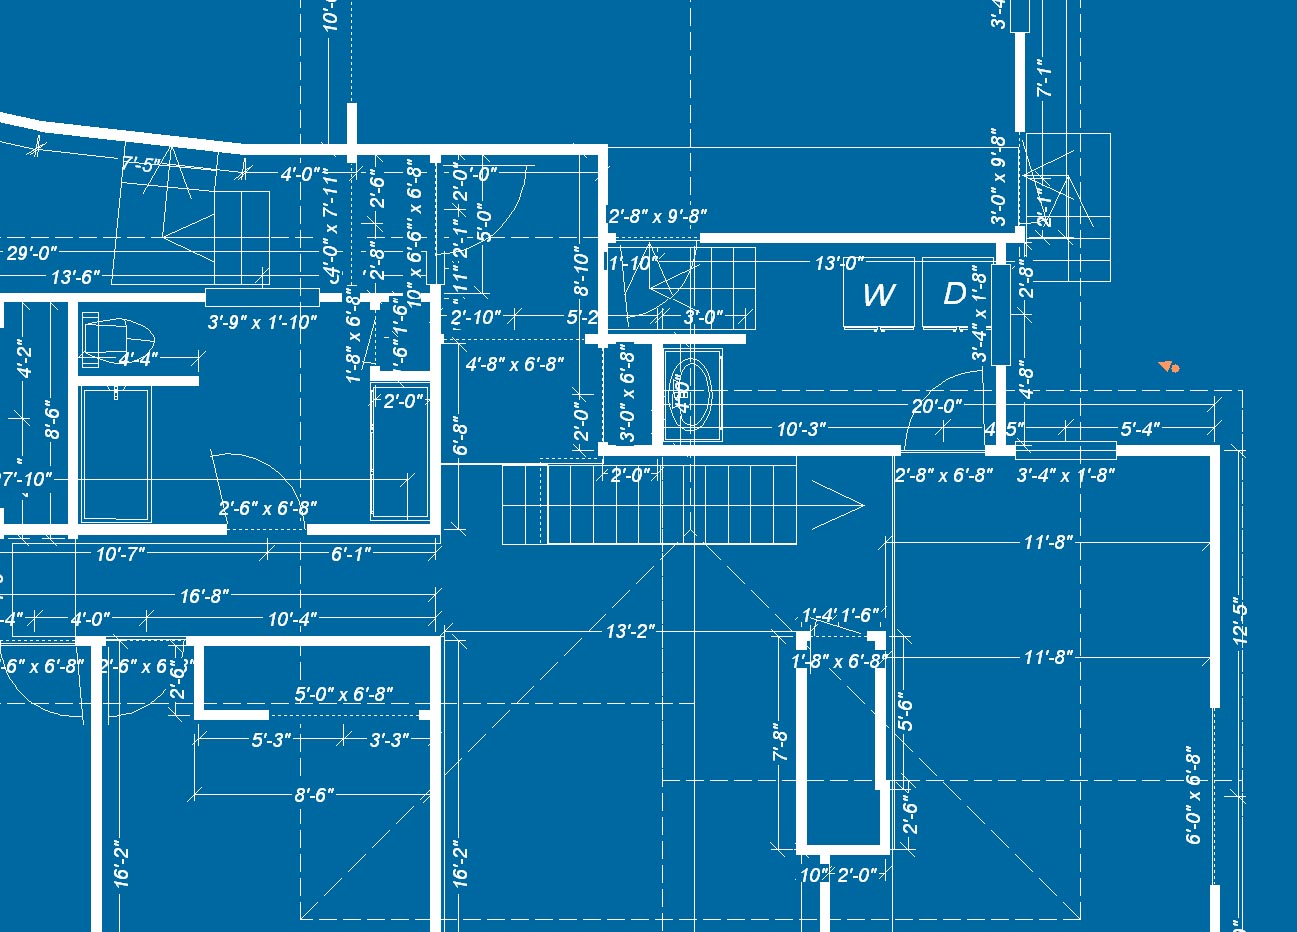 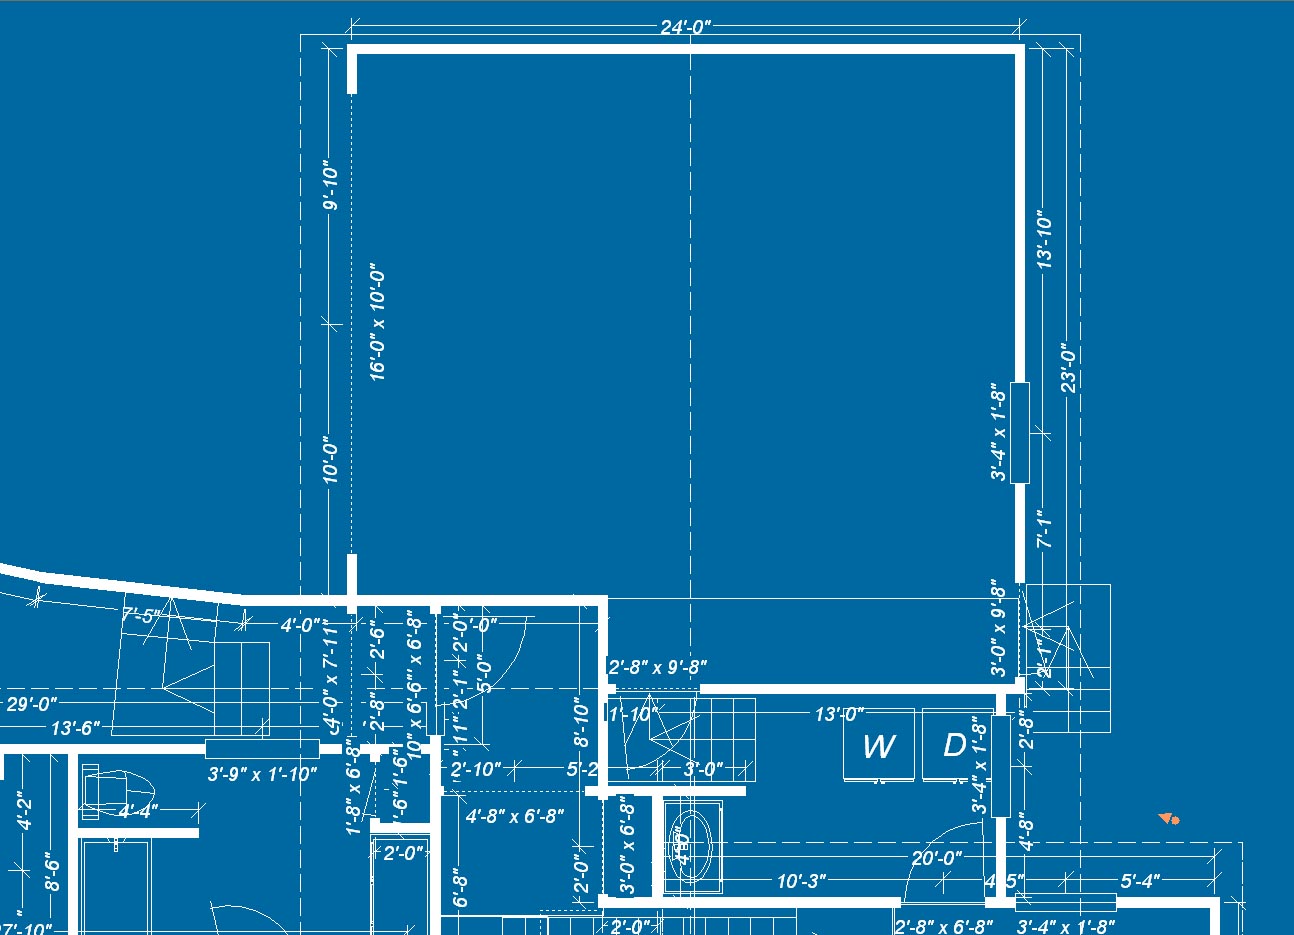 |
UPDATED 11/14/09. This is the final version. The laundry room has been rearranged and the dining room extension has not been put on. |
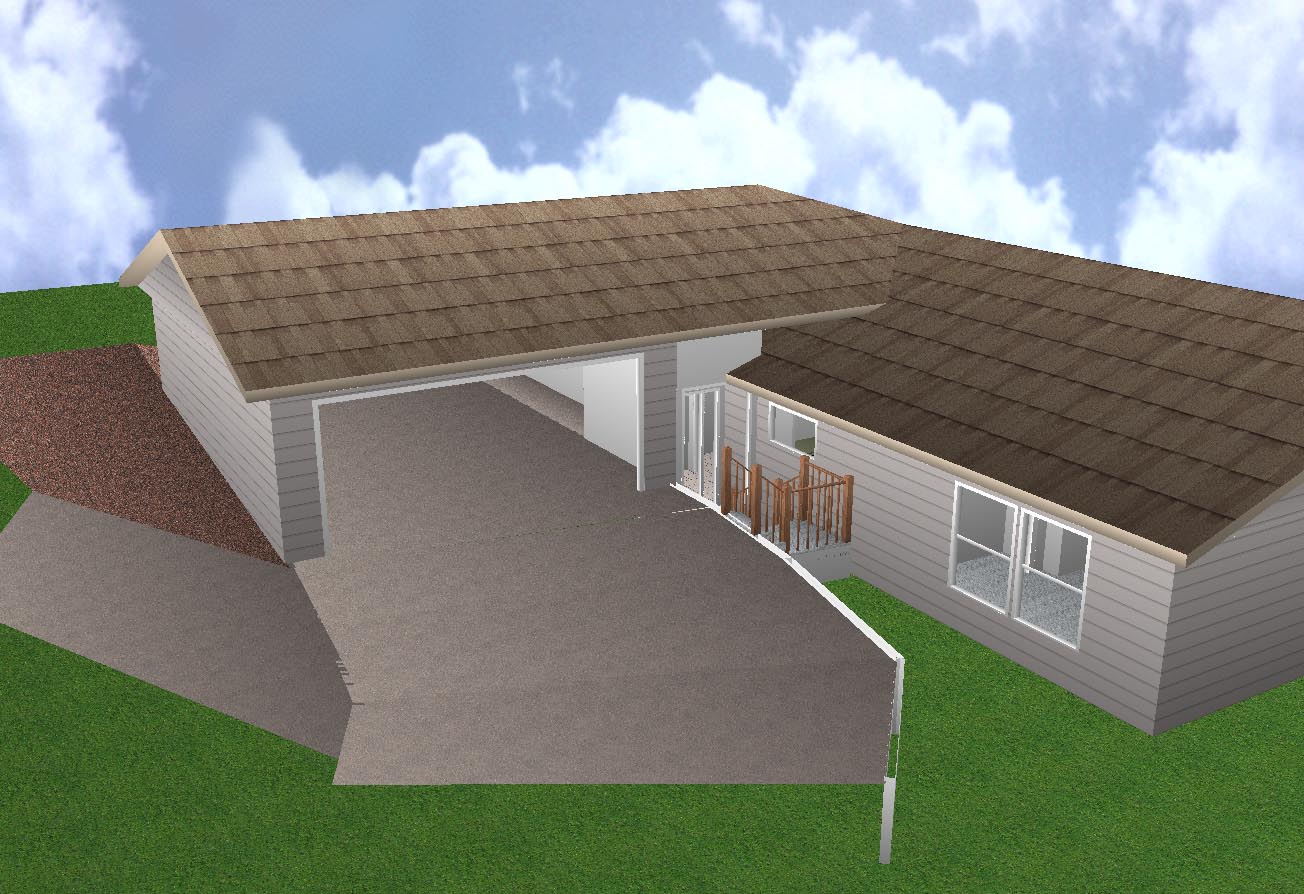  |
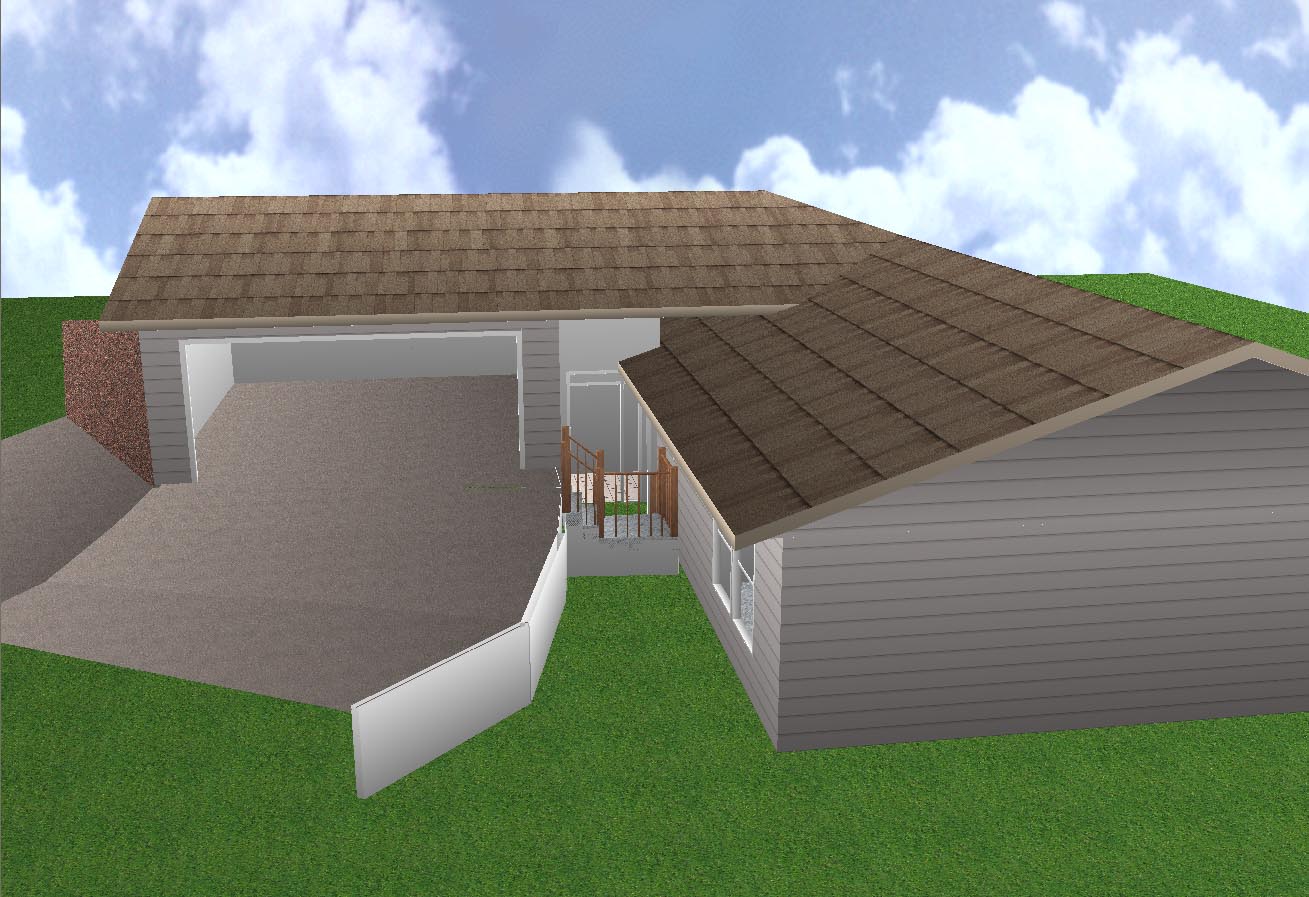
Front wall of the garage continues into the house, which leaves around a 3' covered entryway to the front door. |
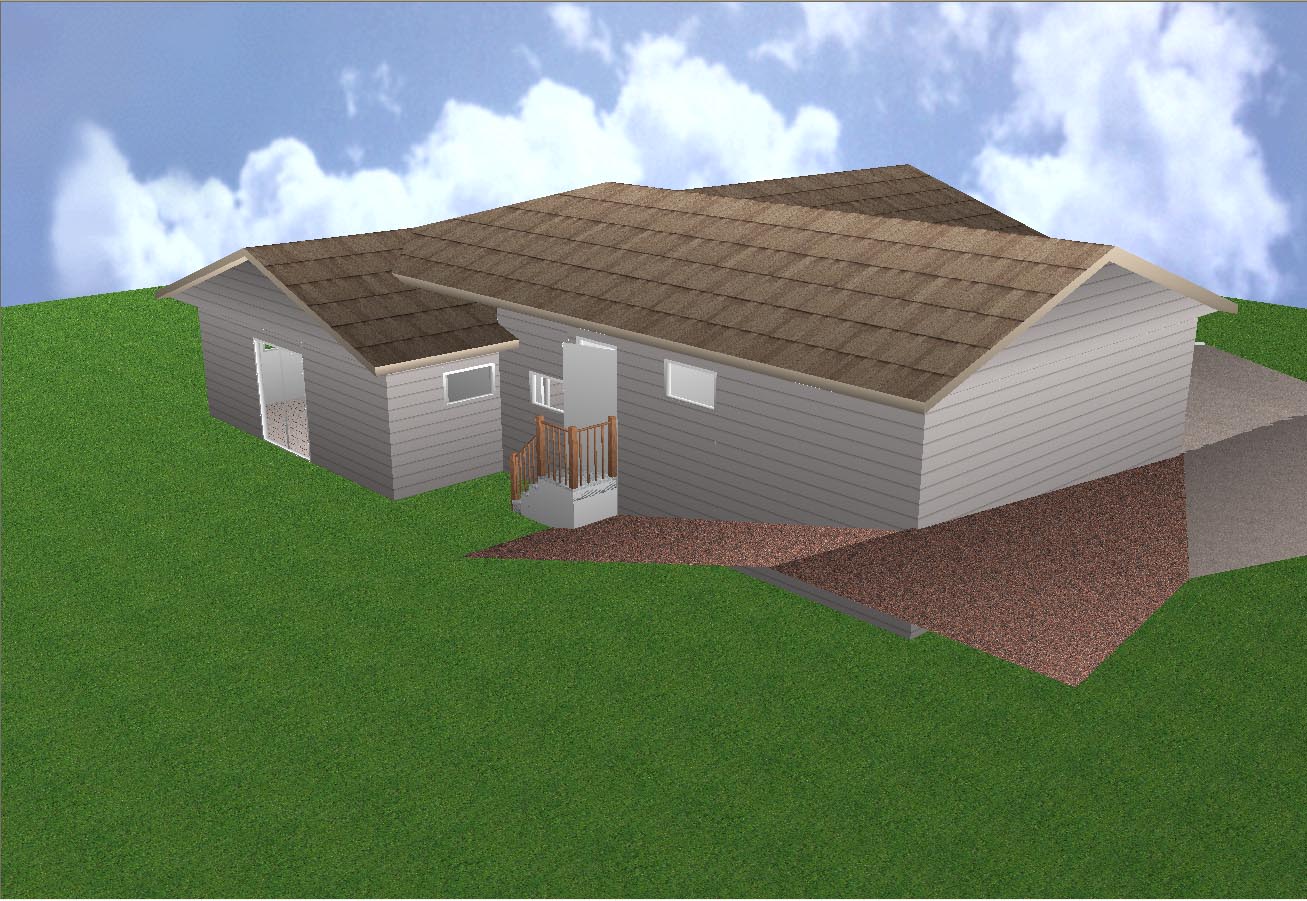 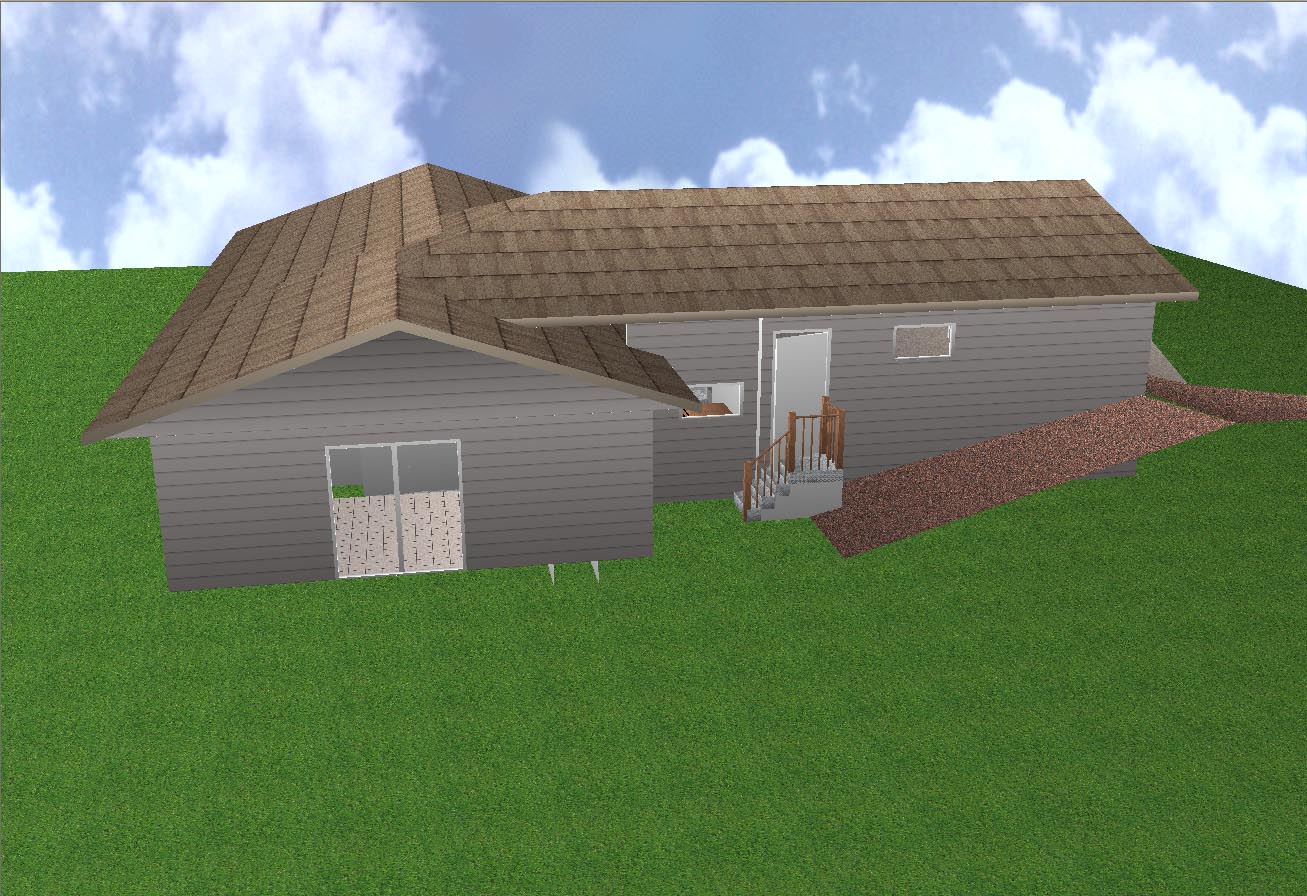 |
One window in the South end of the garage, and another in the laundry room along the same wall. These match the window at the East end of the dining room. |
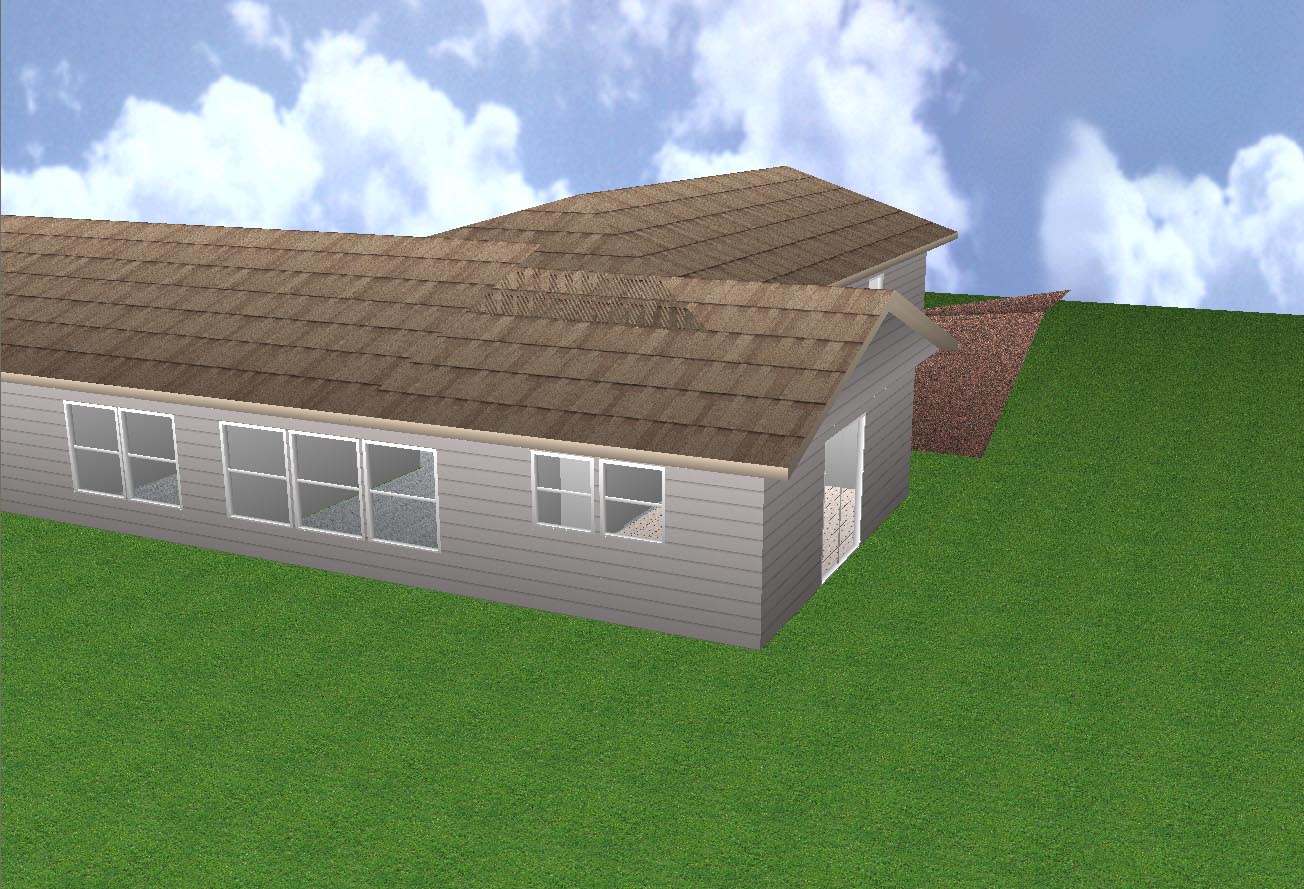  |
The garage roof hips into the main roof. Chimney is not shown, but will likely have to be raised 3~4'. |
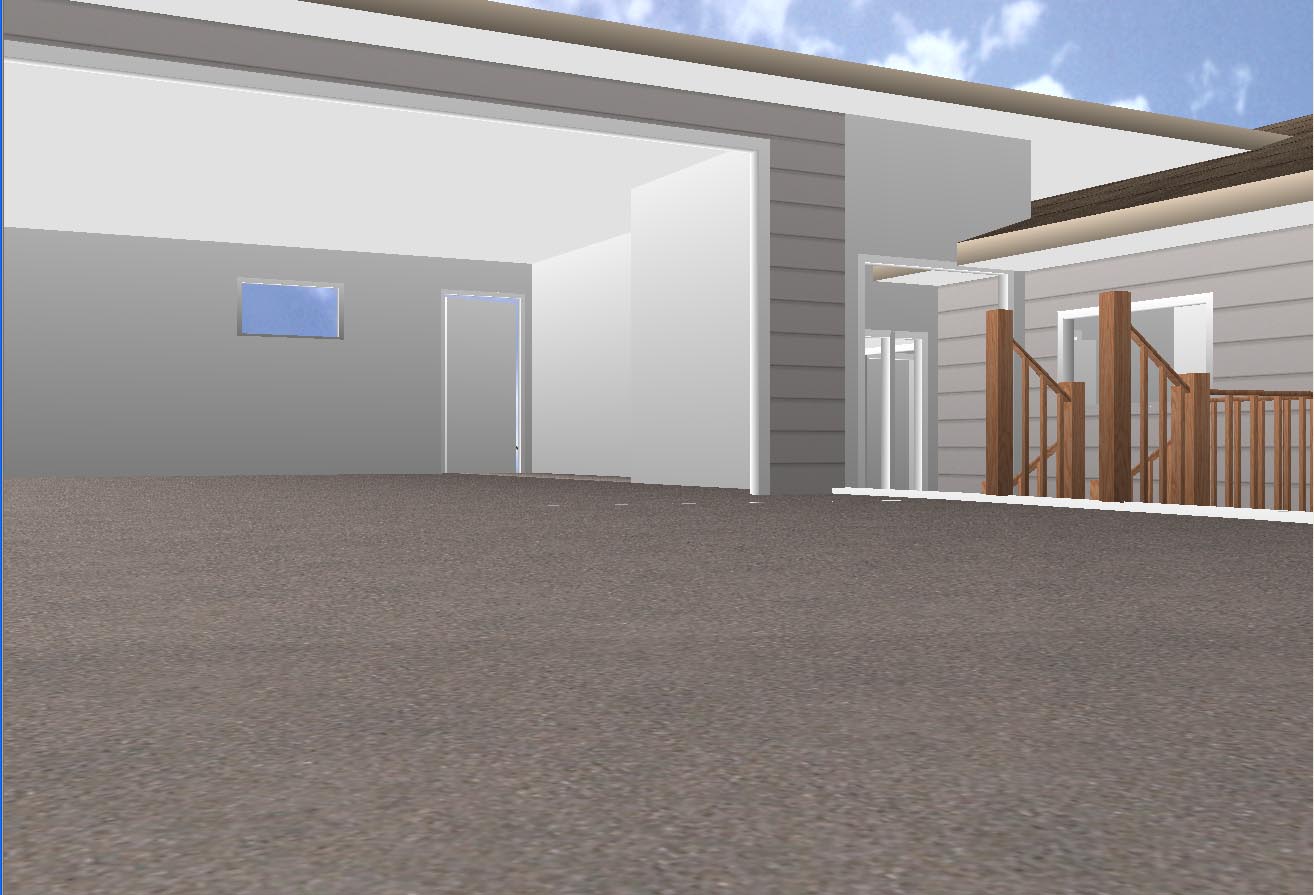  |
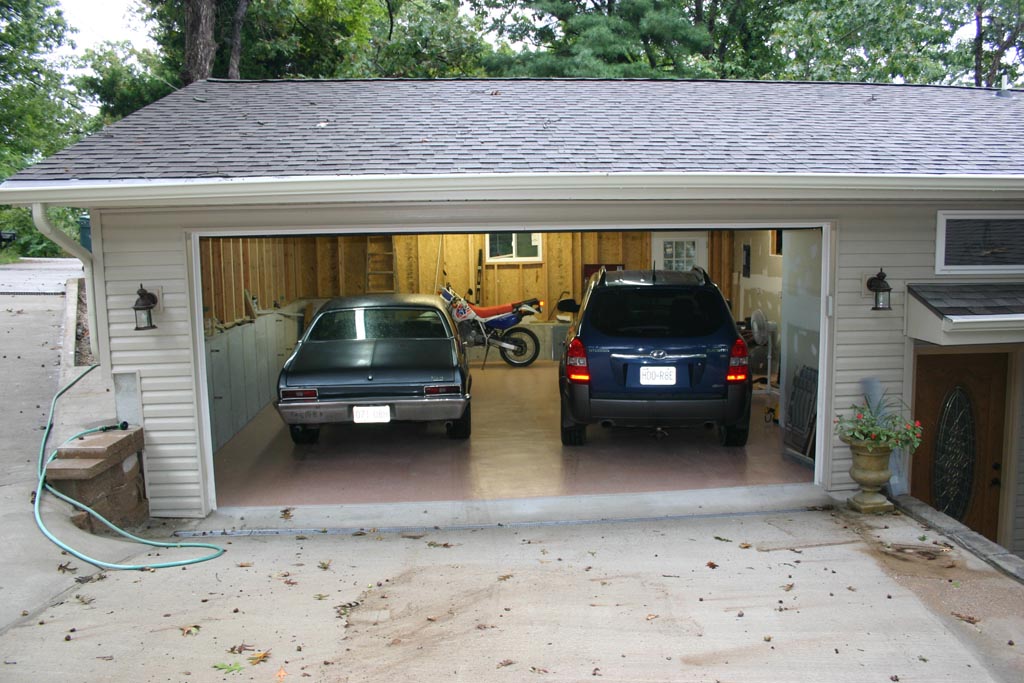
First picture shows the view into the overhead garage door, the rear
door of the garage, and the front wall extending to the house. I
forgot to add texture to the wall, so it shows as plain gray.
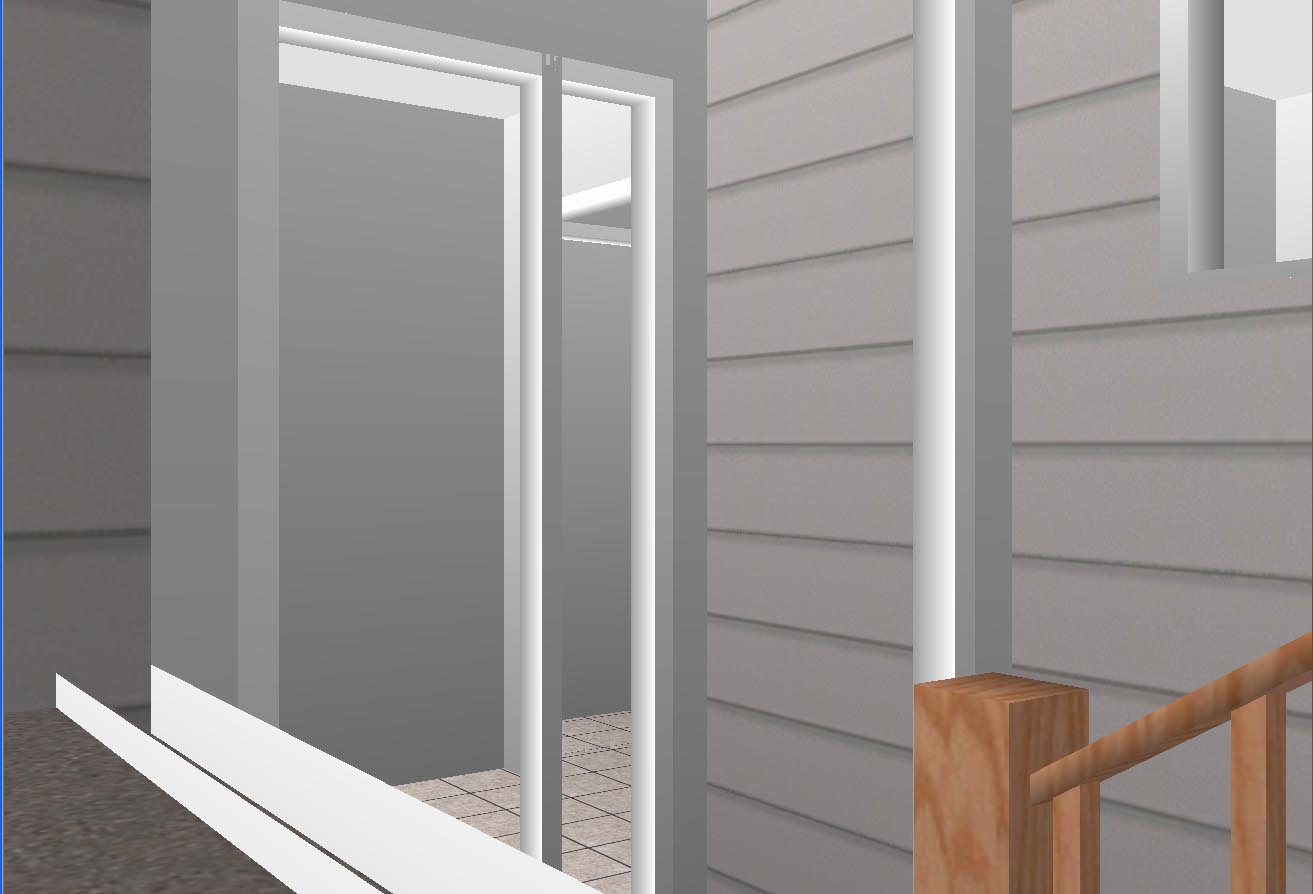
2nd picture shows the sidelight beside the front door. I'd like to do something nice to this area, such as an arched opening, and maybe a transom window above the front door. |
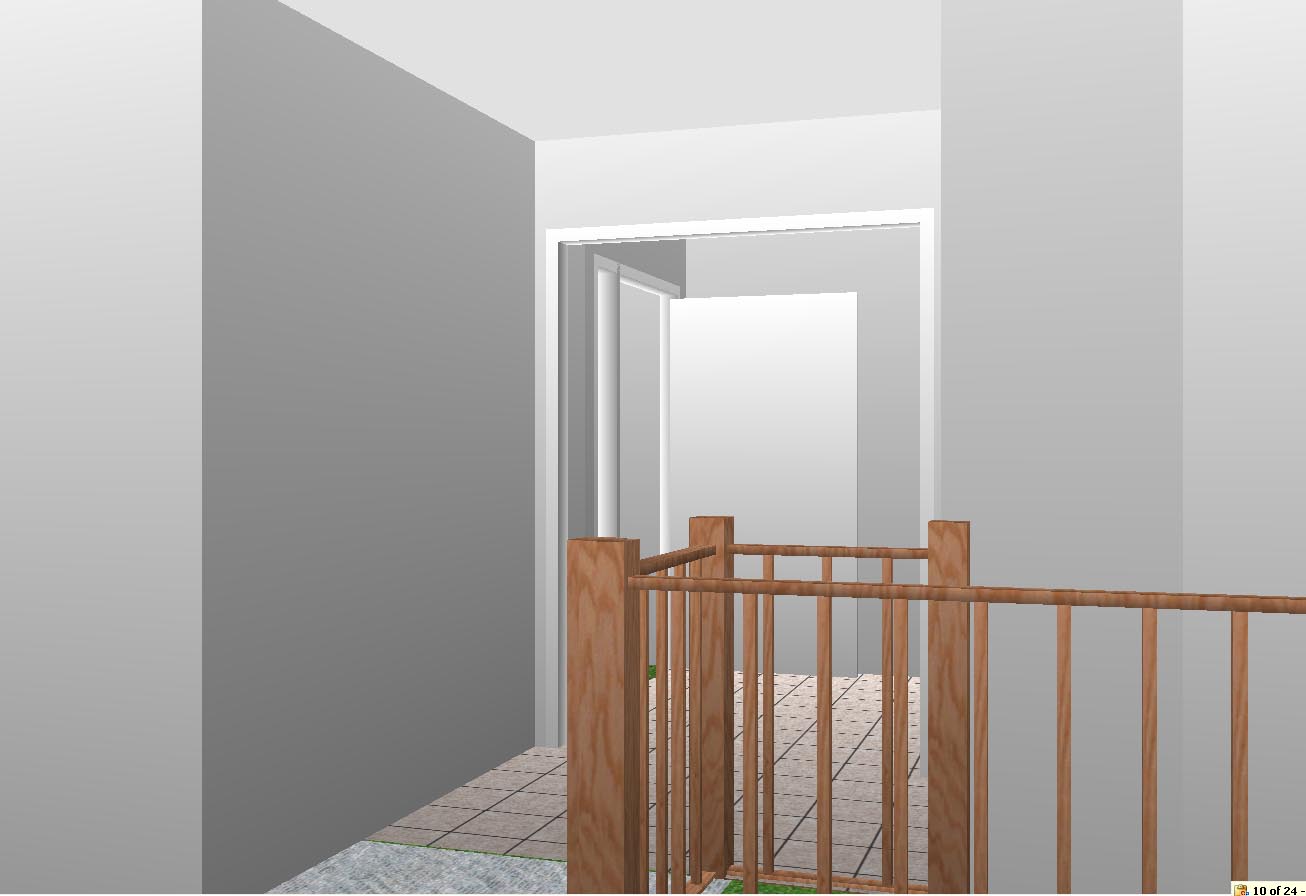   |
From the living room looking into the former front door and the new
entryway. From the living room looking towards the laundry room door near the dining room. From the laundry room door looking to the garage door. |
 |
1/11/2010. Destruction begins. The city's meeting on my variance isn't until the 14th, so there isn't much we can do yet. |
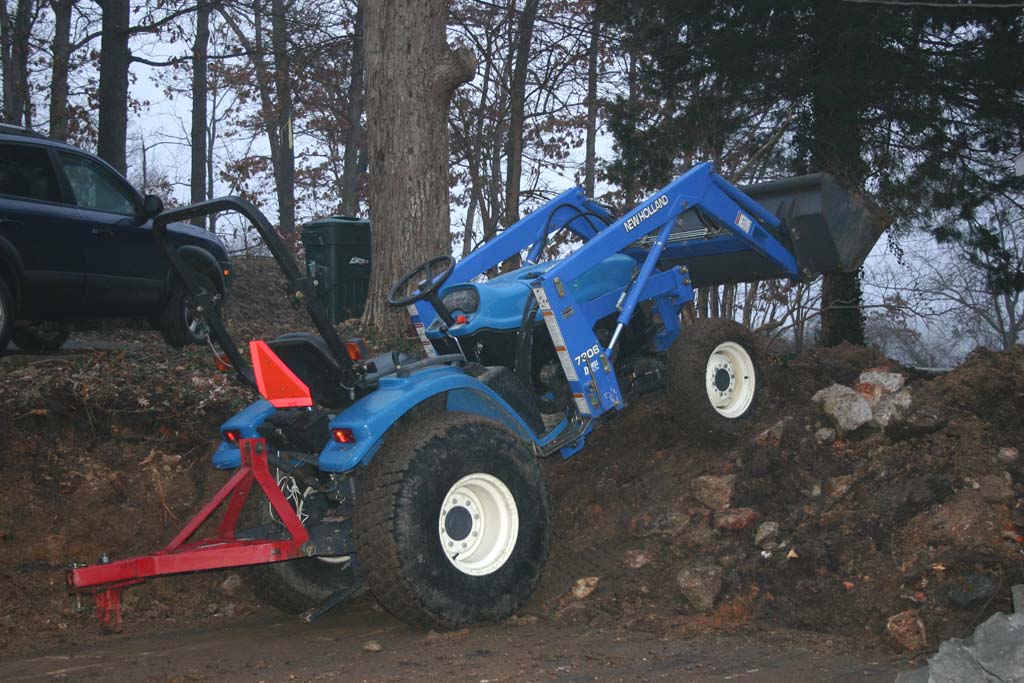  |
Gotta love a 4WD tractor! The stones from the front of the house are removed. |
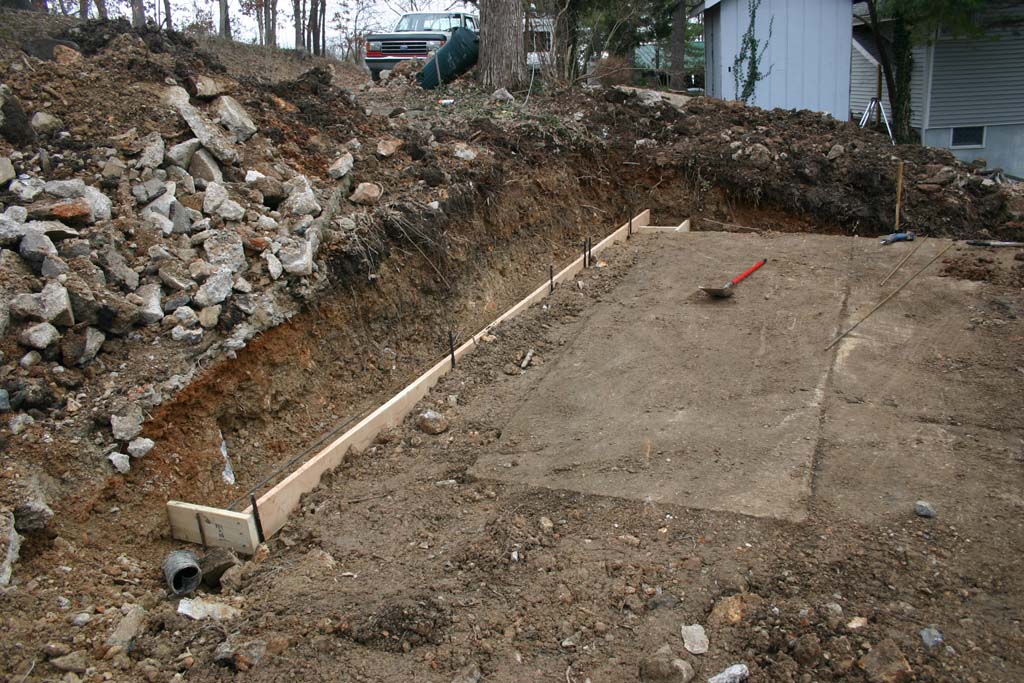  |
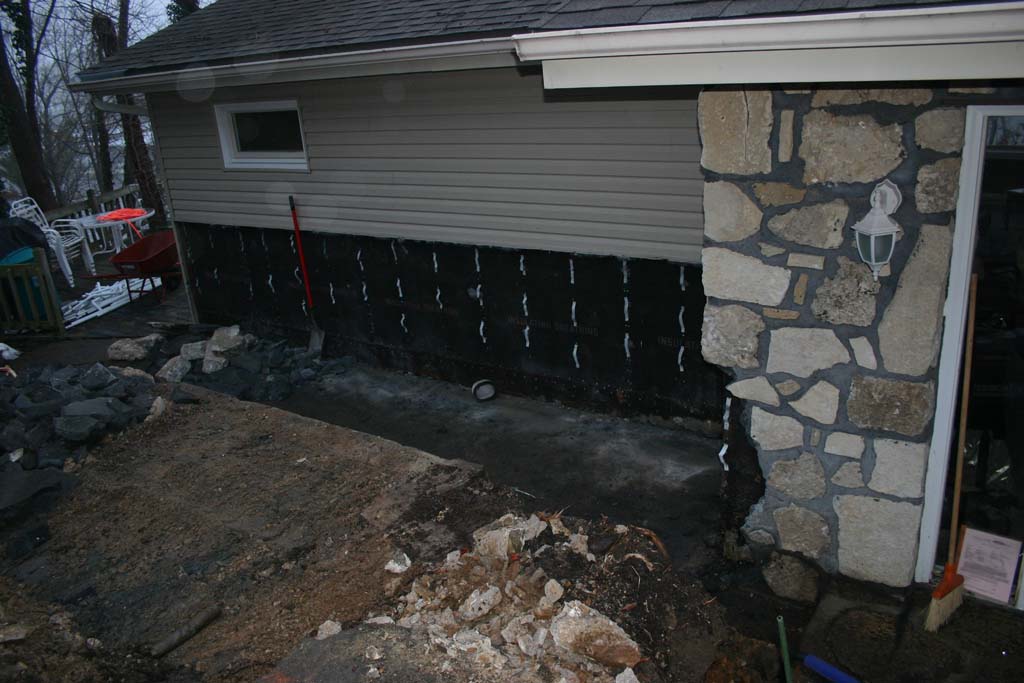
Footings are dug. Can't believe how much room in front of the door there is, now. |
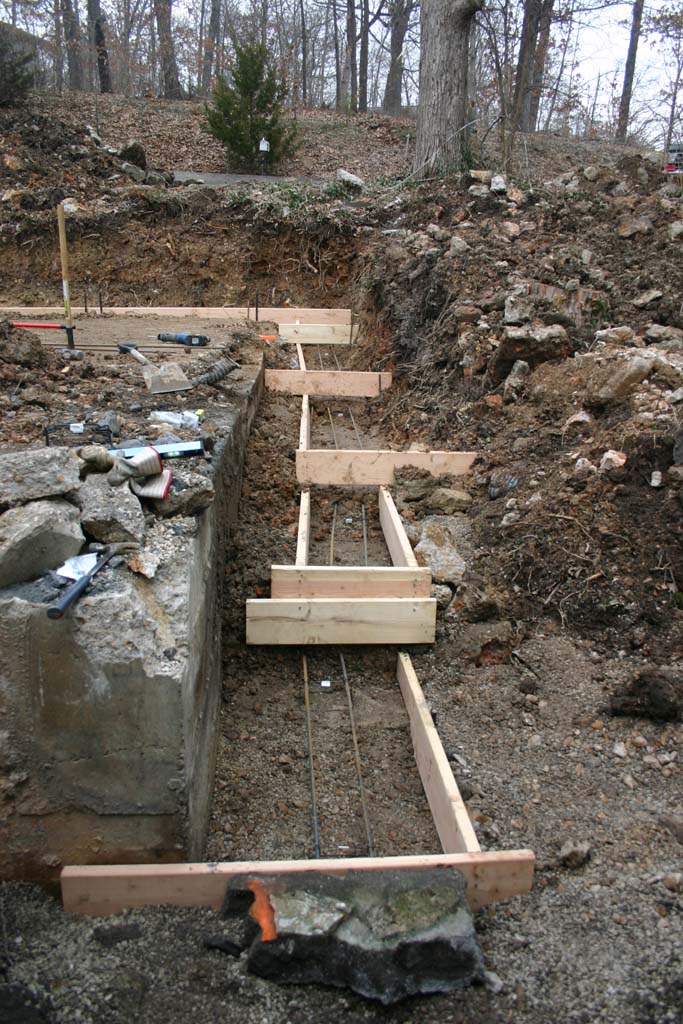  |
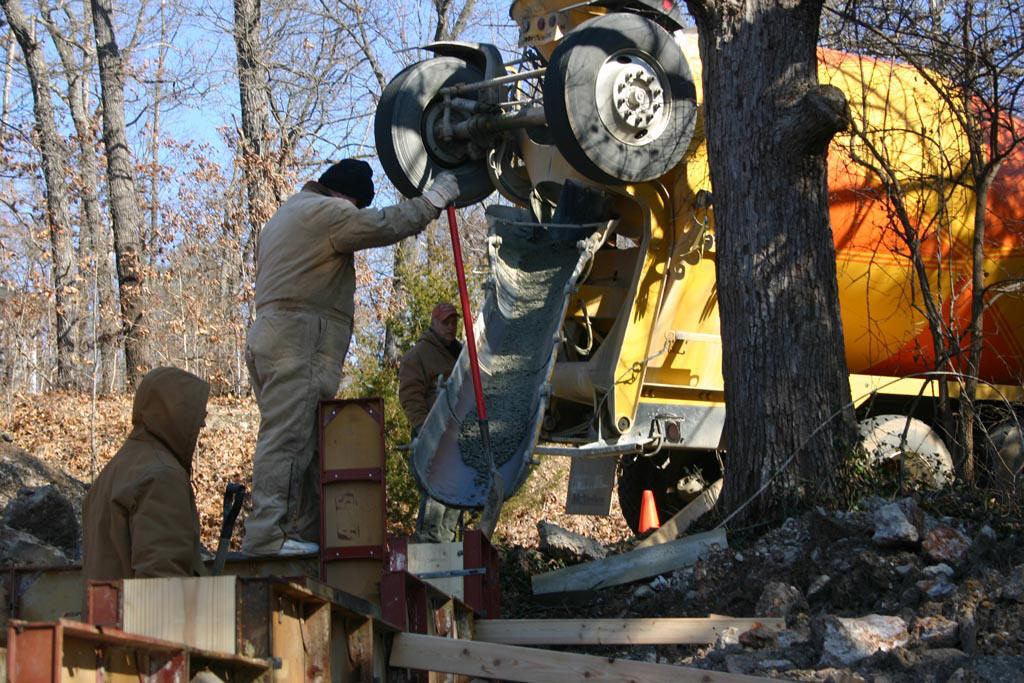
Footing forms are in. What to do if you have extra cement? I dug out an area between the garage and the street. No bull float? We made one out of a 2X4 and a 1X8! |
 |
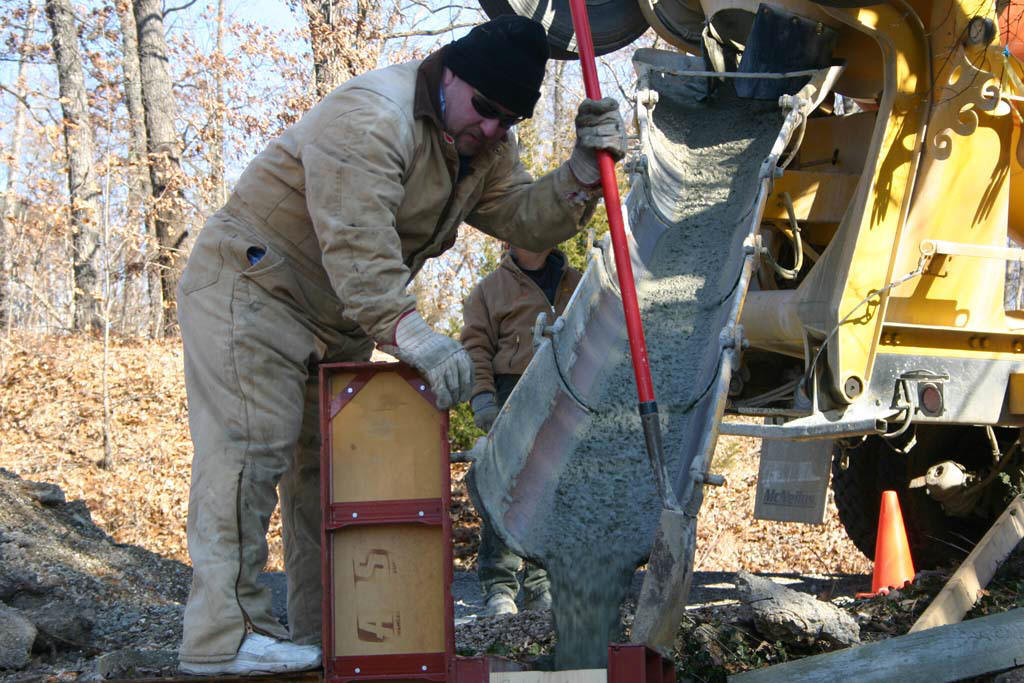
1/26. The foundation walls are poured. |
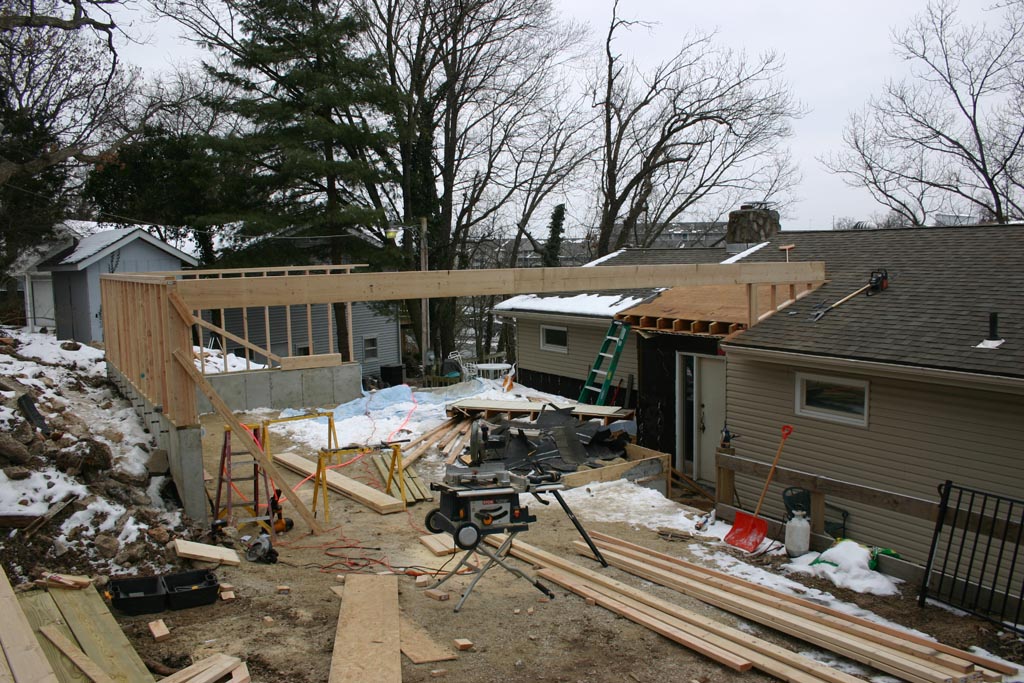 |
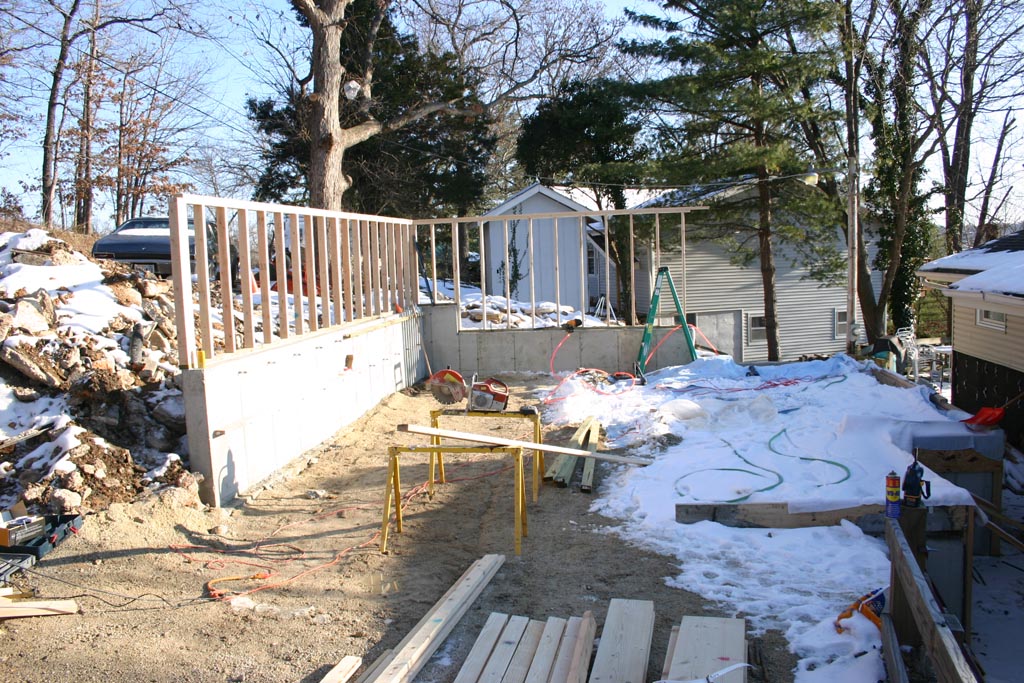
2/10. After a week of curing the foundation plus a few snow
days, we get started on the framing. 2/11. The header above the garage door gets put on after stripping the roof area by the front door. |
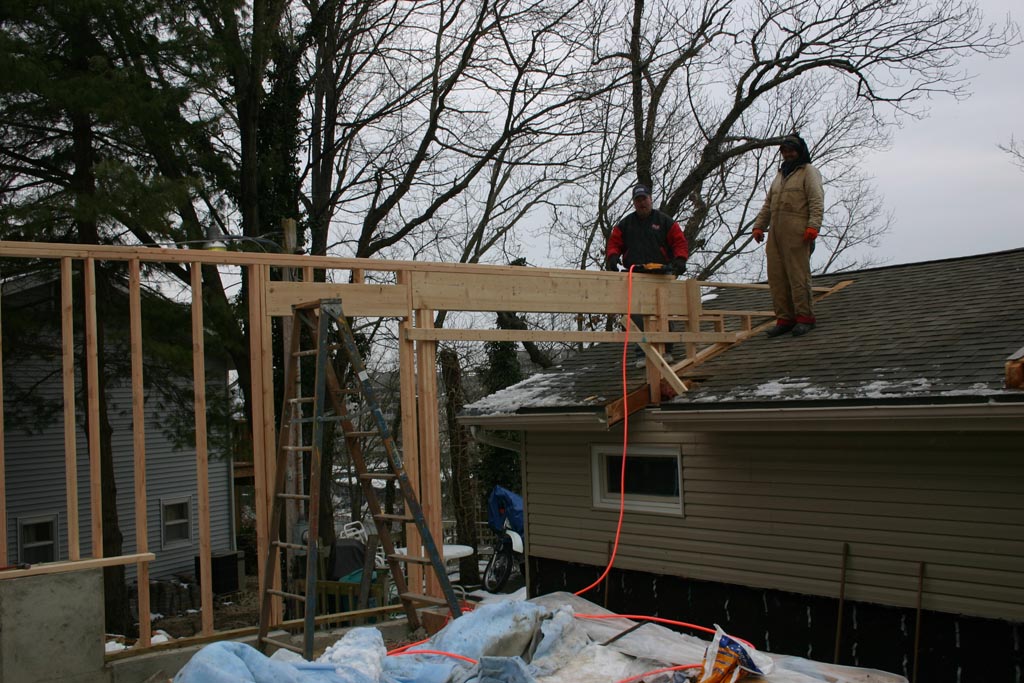 |
2/12. The rear wall gets connected to the house. |
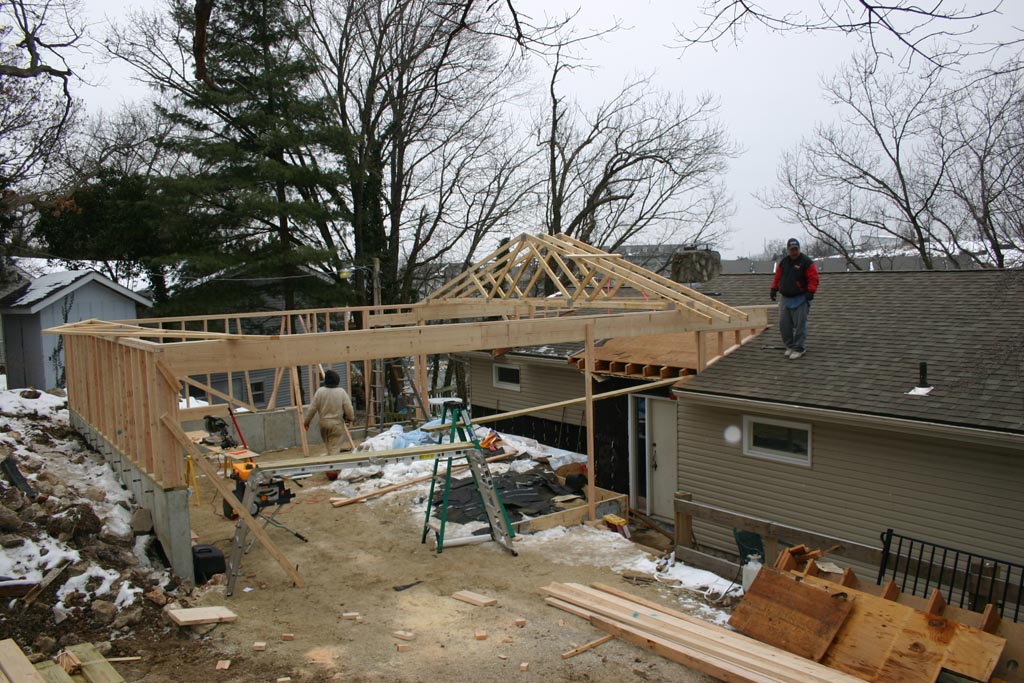  |
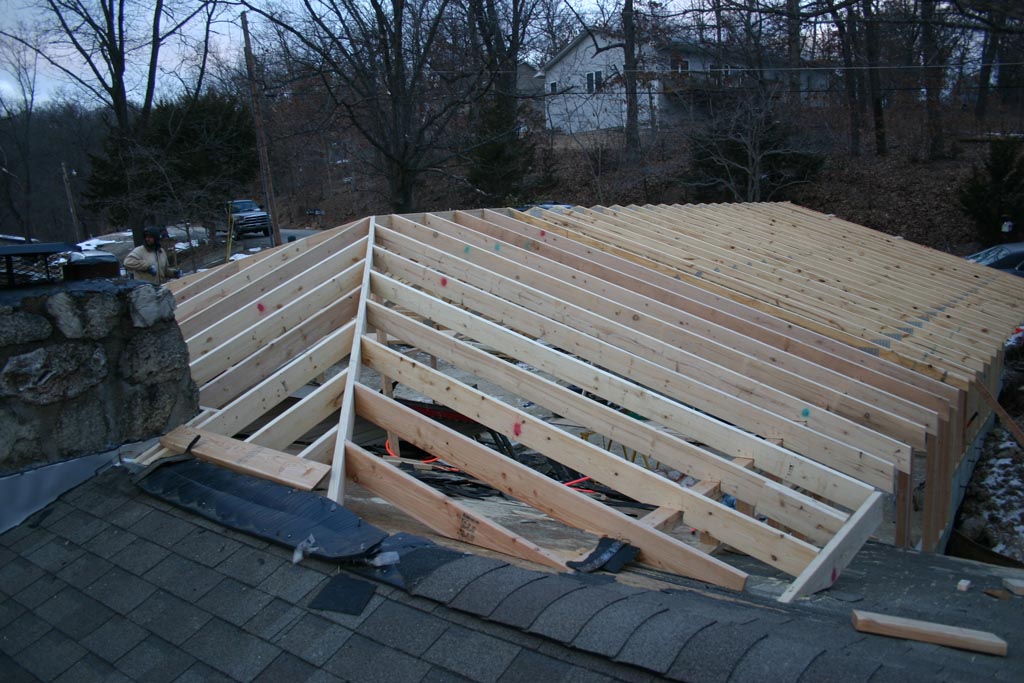
Rafters start going up. Now it's starting to look like a
garage Everyone's favorite angle of rafters. :>) |
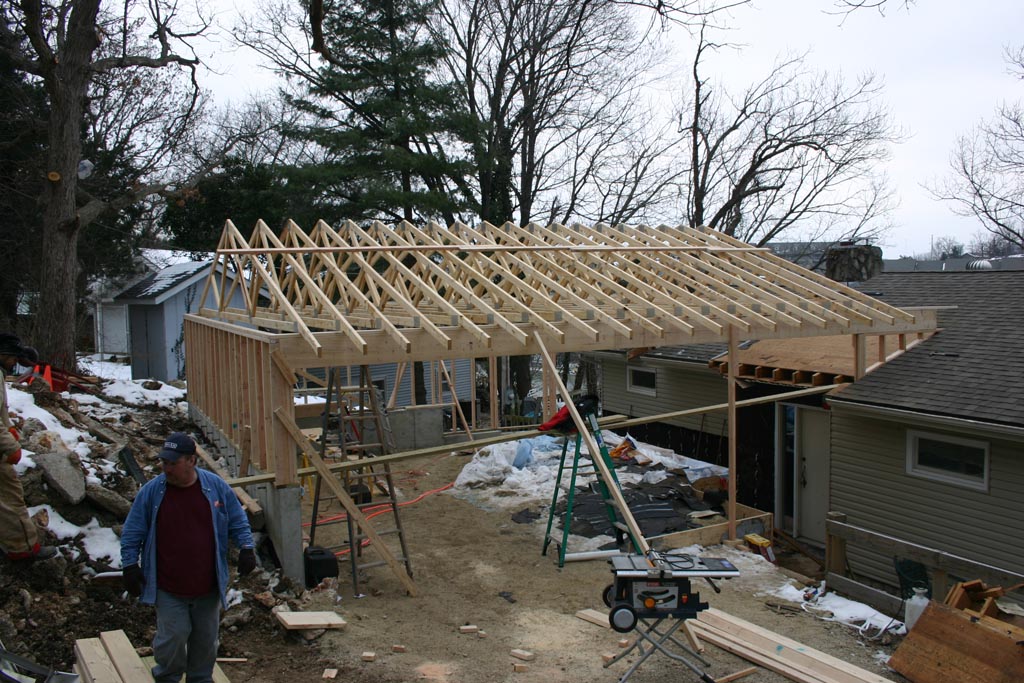 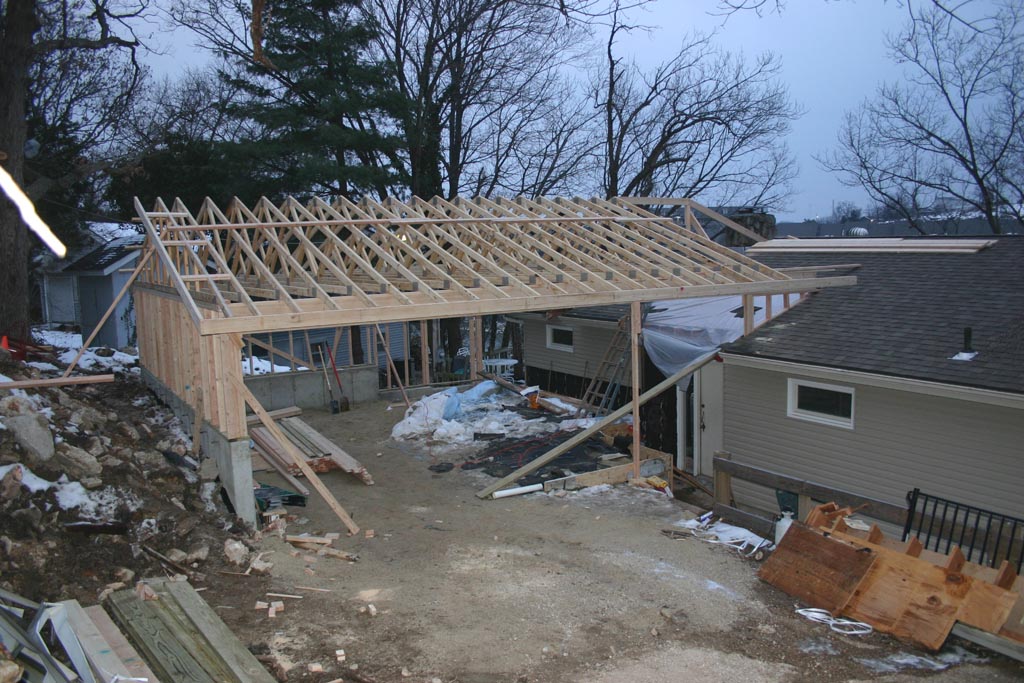 |
Rafters all done. Fascia boards start to go on. |
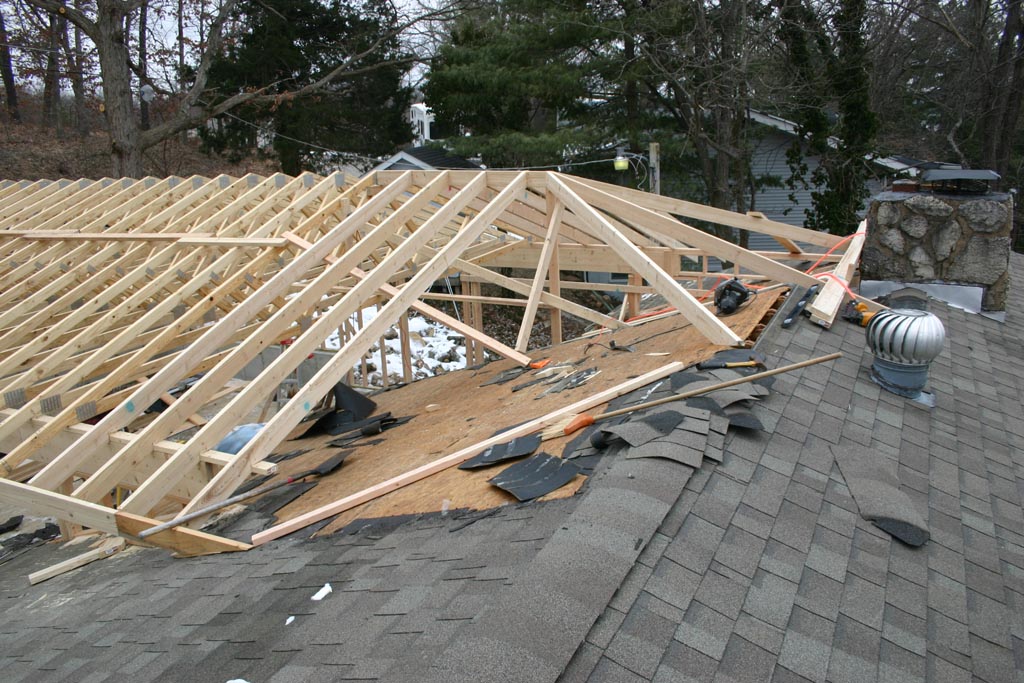 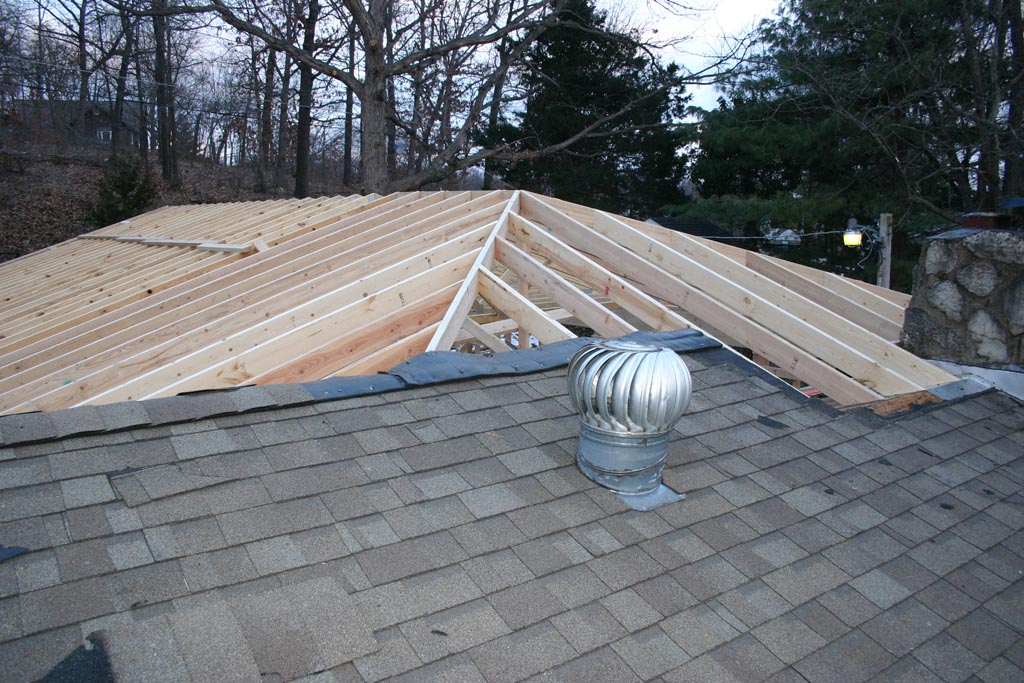 |
2/16. Framing the hip portion of the roof is very time-consuming. It'll fall into place with the existing roof. |
 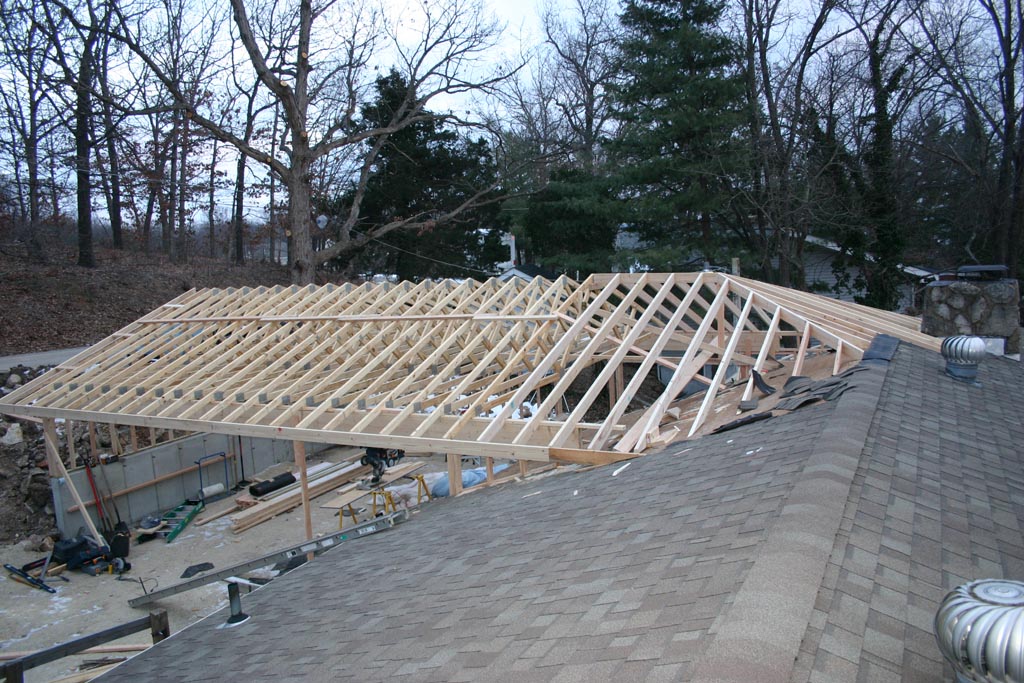 |
Rafters are done. Just need to finish the fascia on the South side, and then it's time for plywood. |
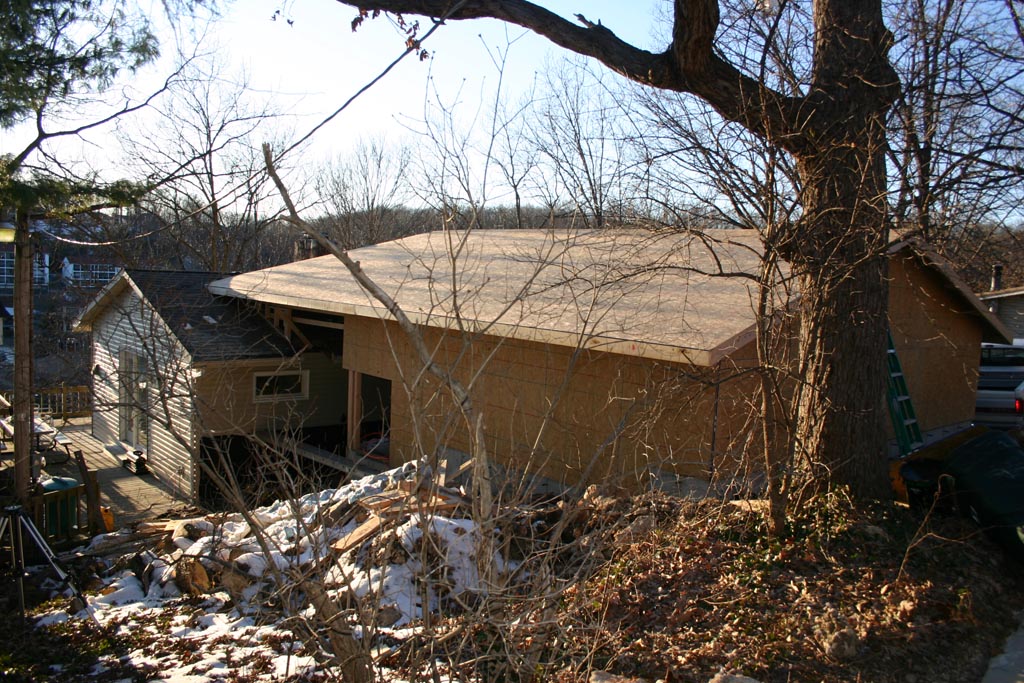 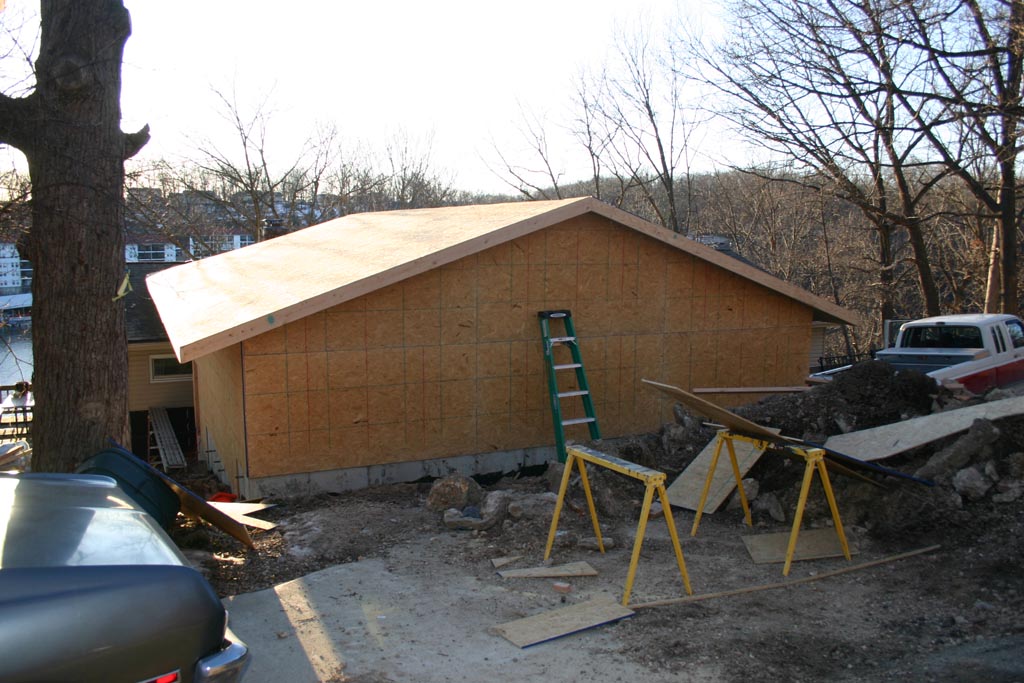 |
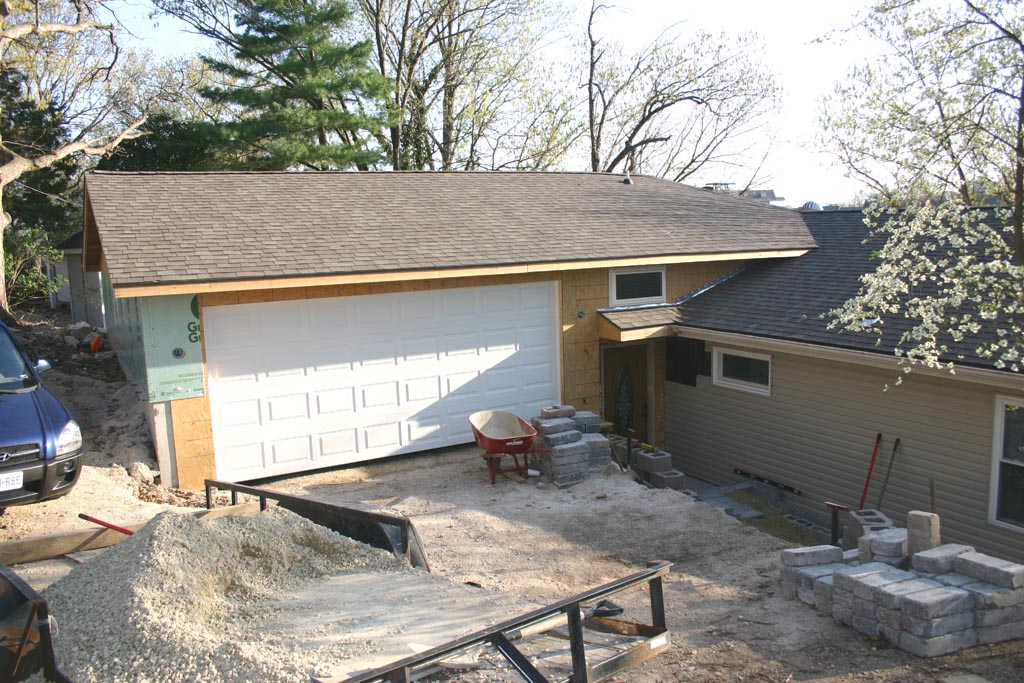
2/17. The plywood gets put on in one afternoon, and suddenly the project looks a lot like a real garage. |
  |
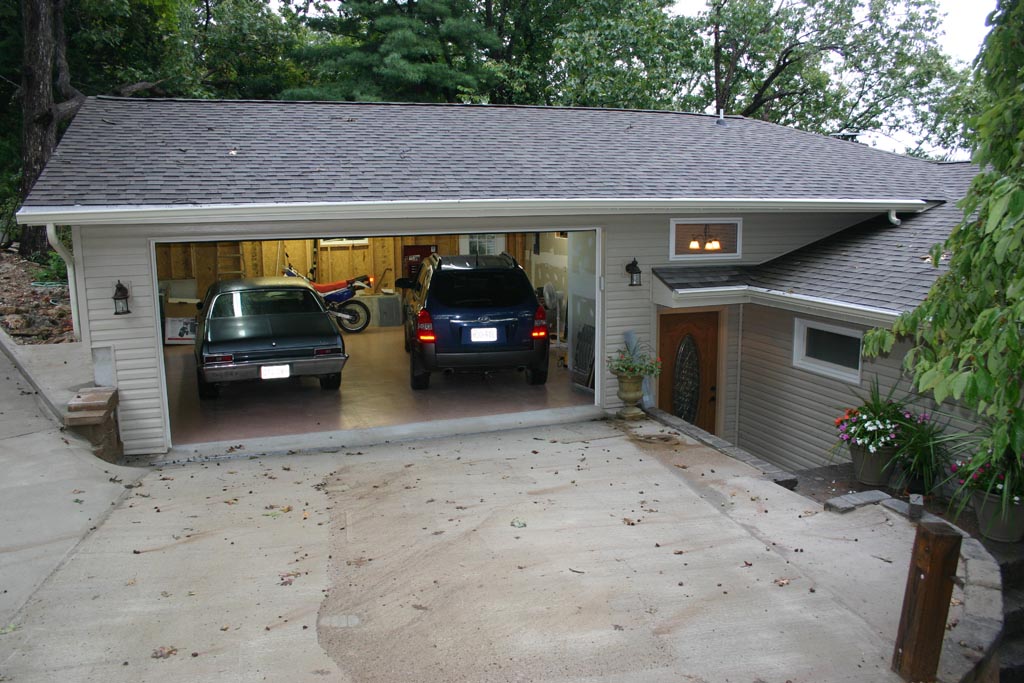
The roofline is higher than the house, but not too bad. |
 |
Just had to park the car inside the garage for the night! |
 |
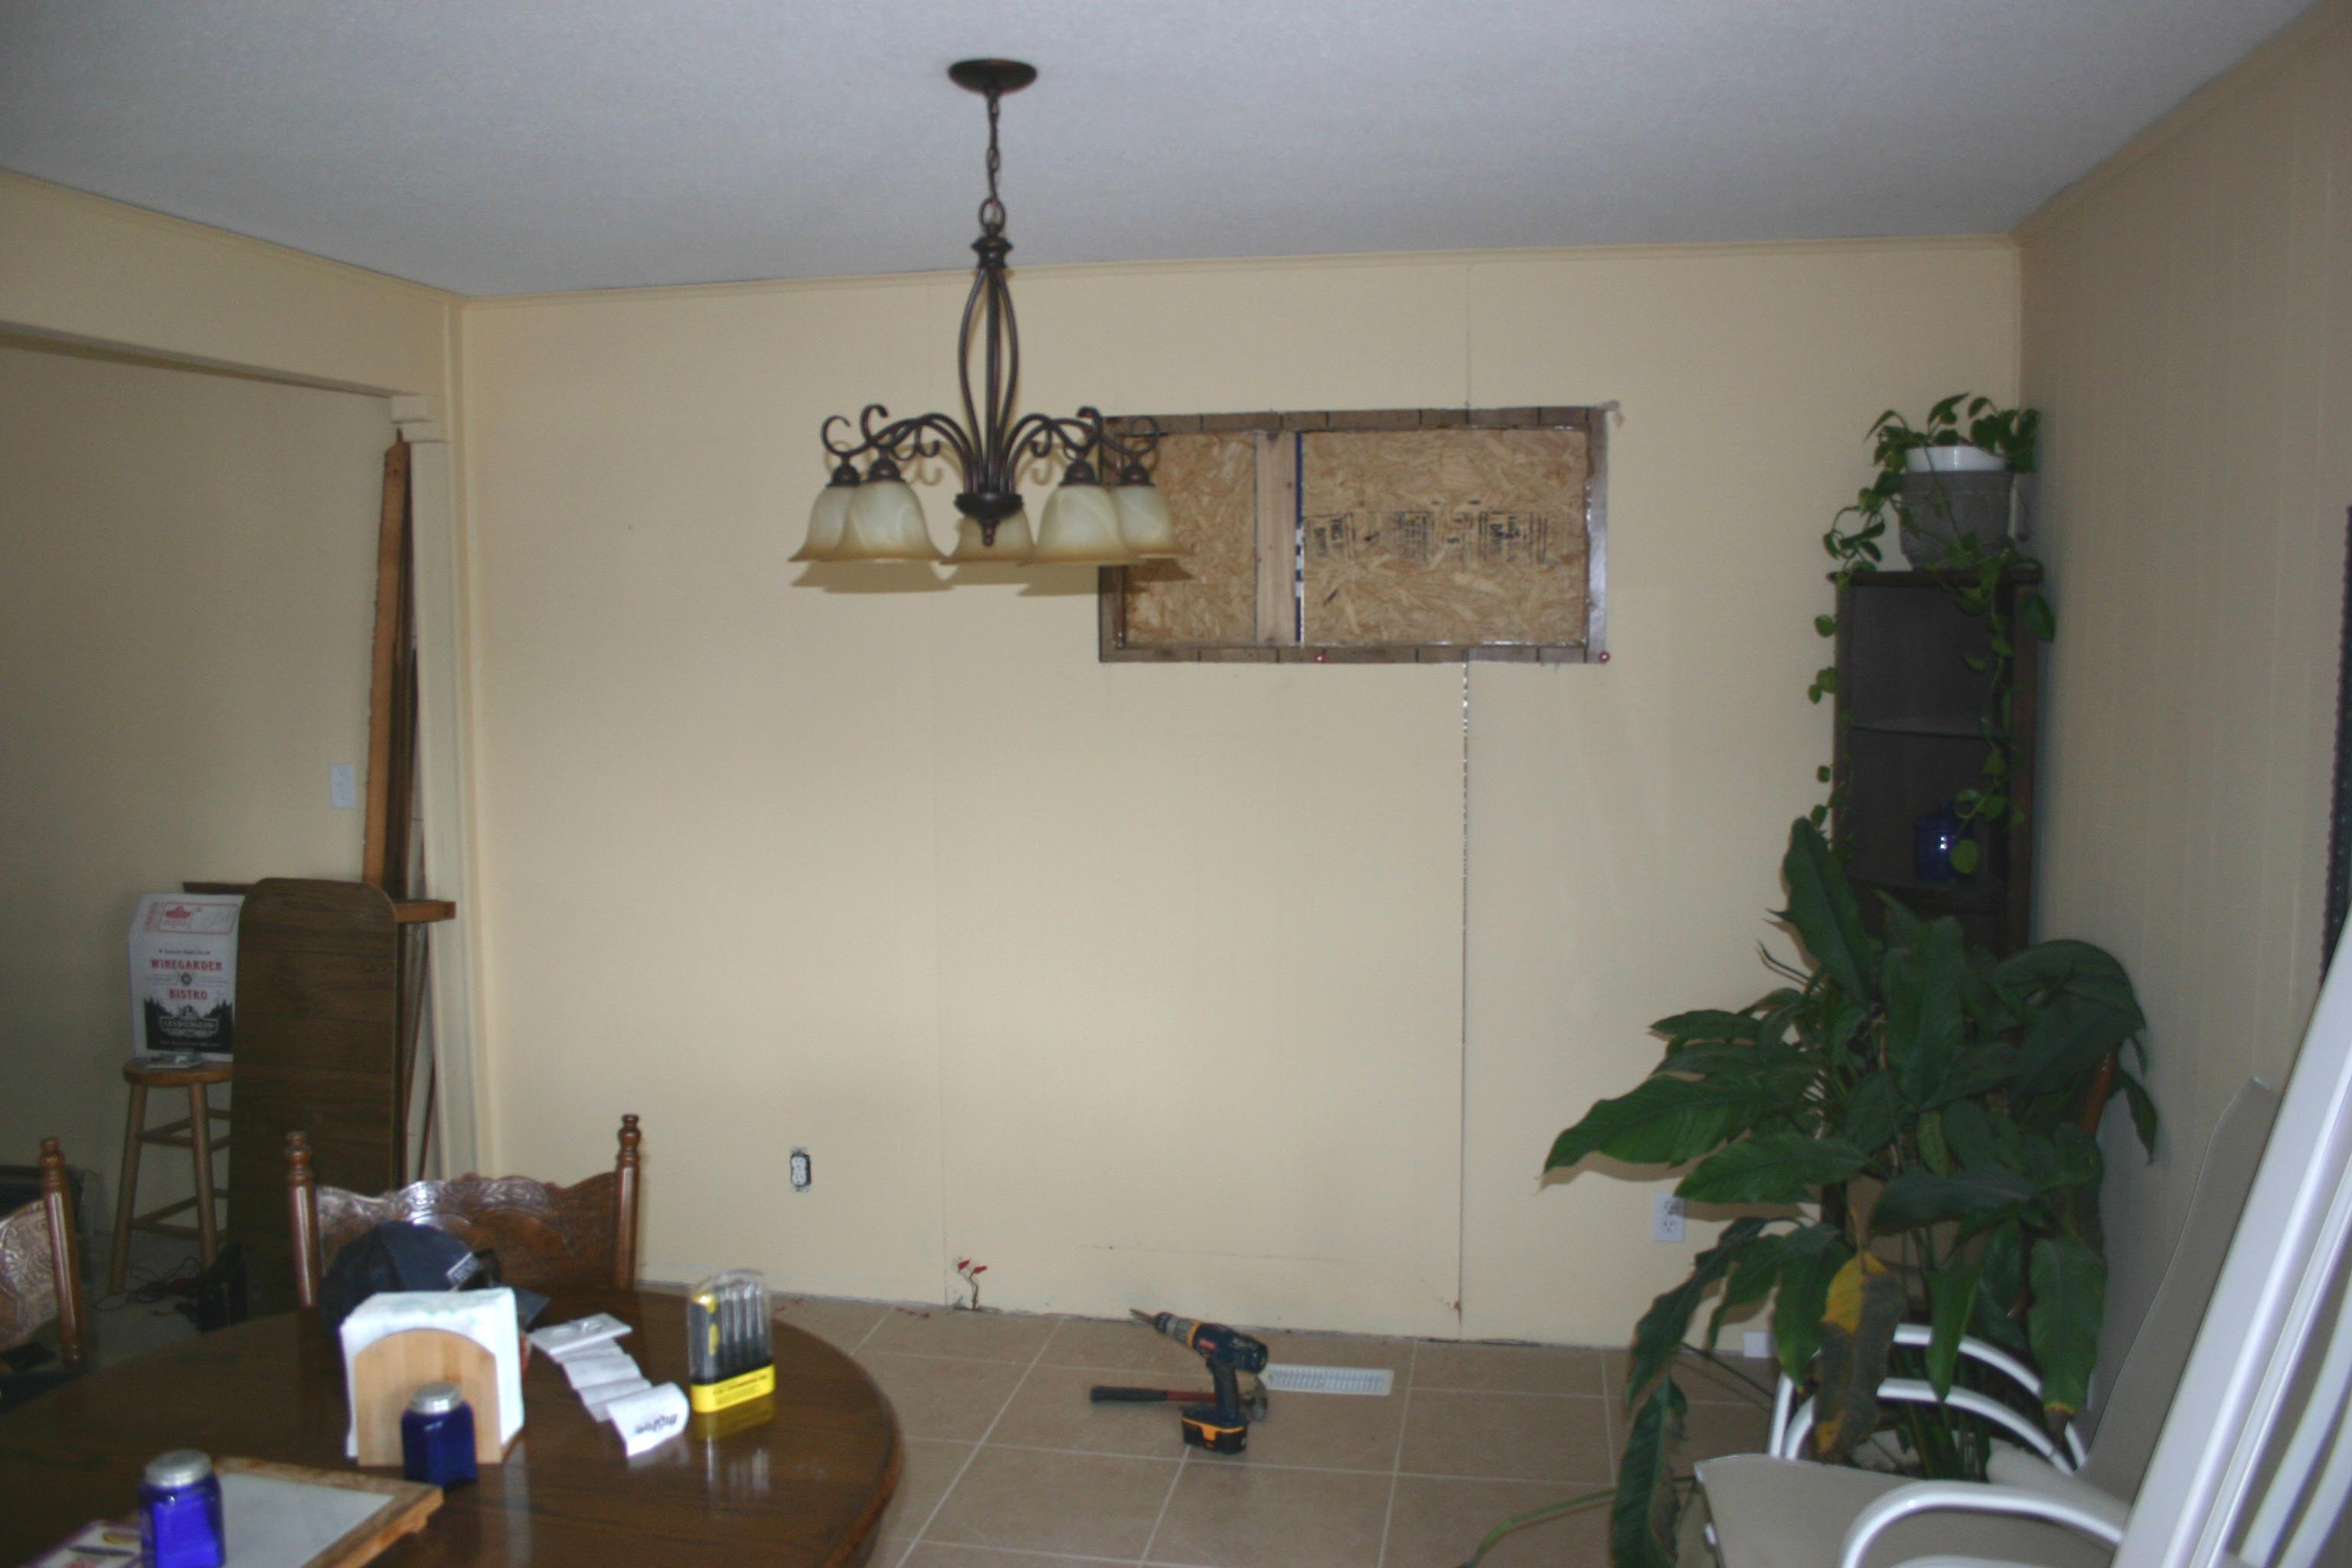
2/23. The dining room window will have to be moved. A larger one will replace what was essentially a basement window and be moved to the right. |
 |
2/24. The roof is finished. |
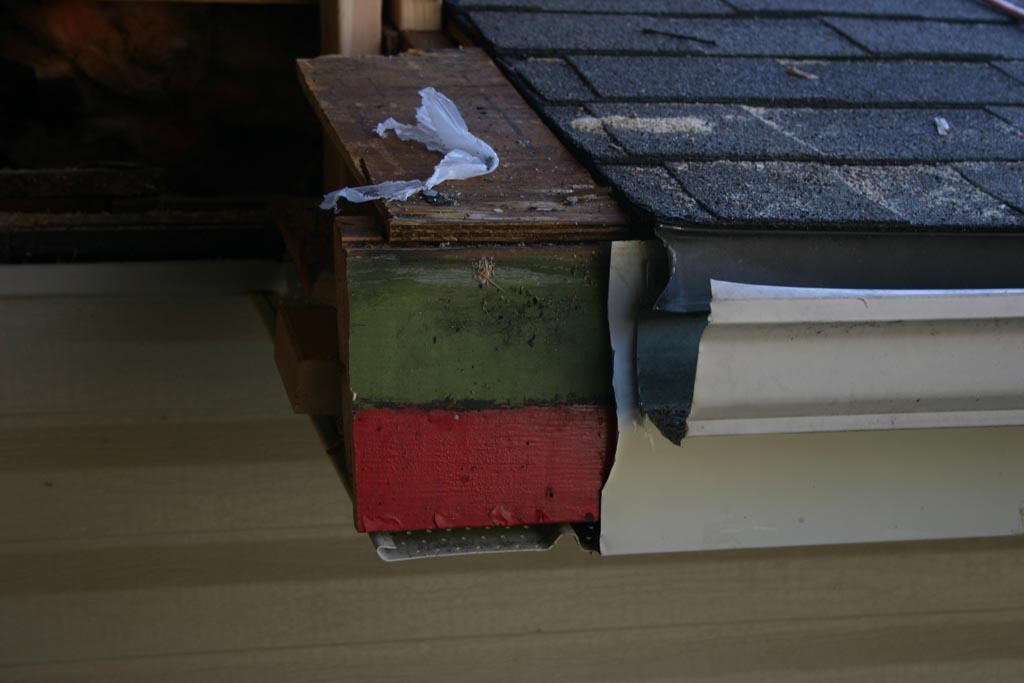 |
After pulling off some of the trim, I find an awful paint scheme underneath. What were they thinking? |
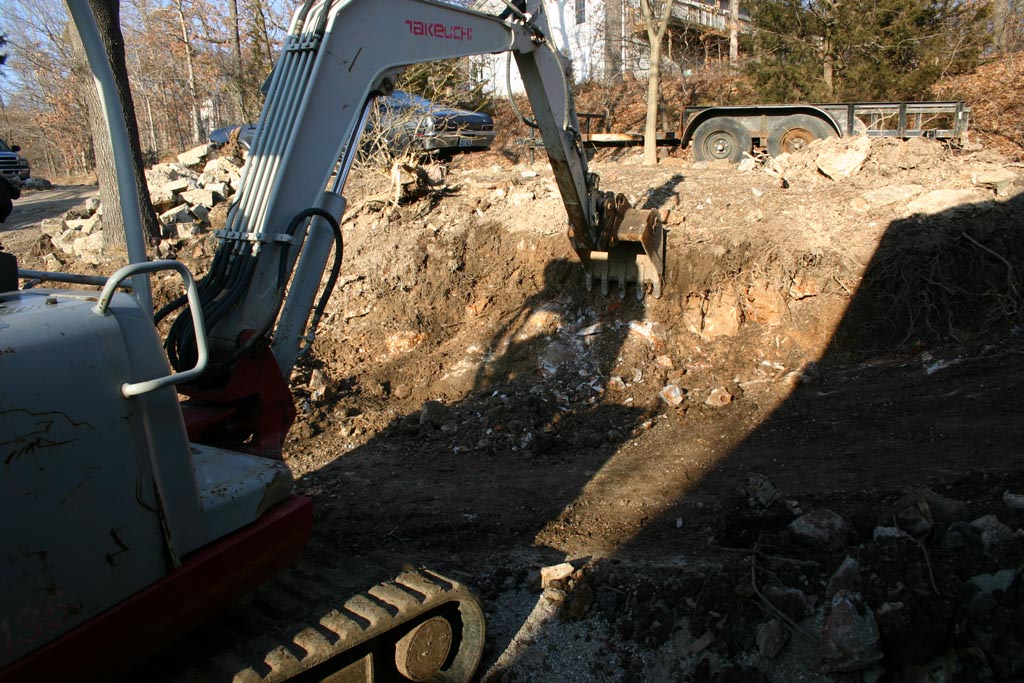 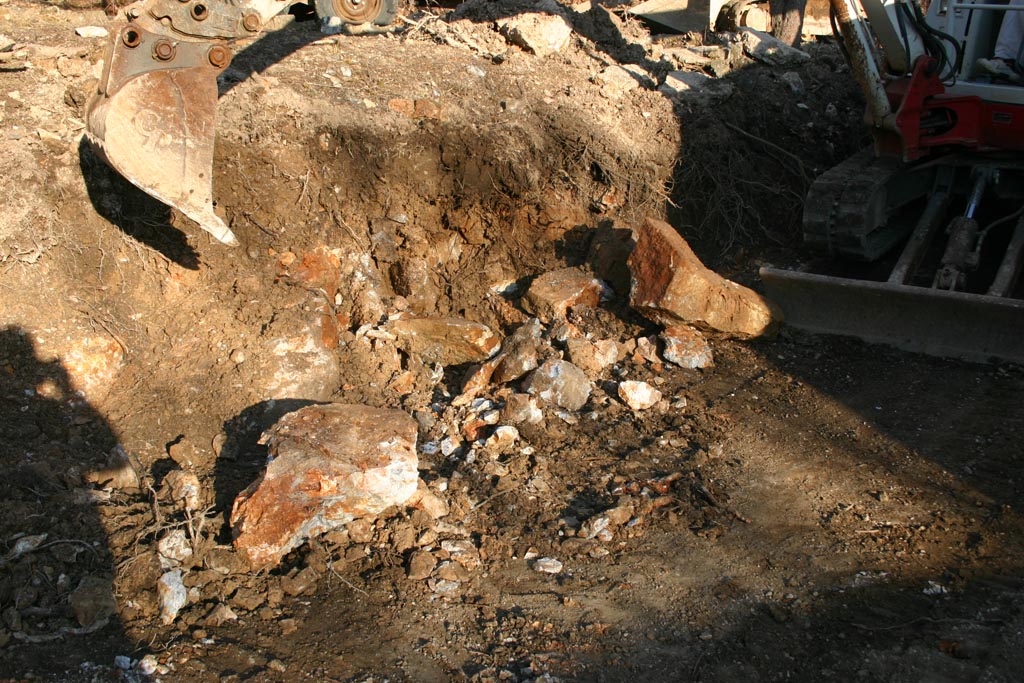 |
Widening out the exit lane of the driveway runs into a BIG snag. There's a rock the size of a refrigerator in the way. We manage to break a few large pieces off of it, but it'll take a jackhammer to finish the job. |
 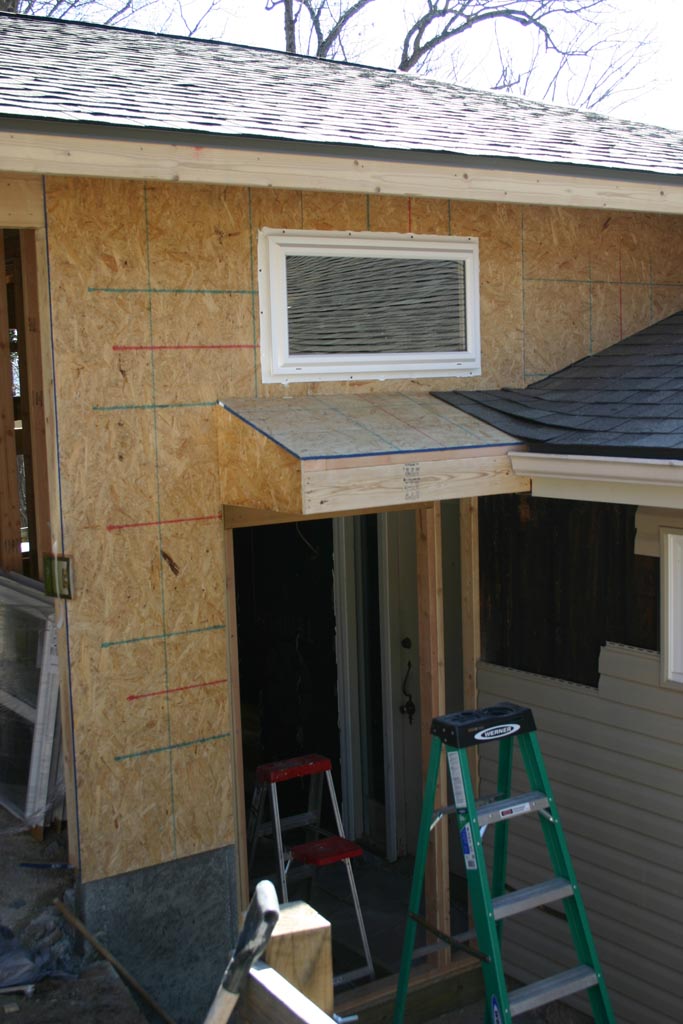 |
The entryway gets the roof framed on, and the window installed. The chandelier will be visible through it. |
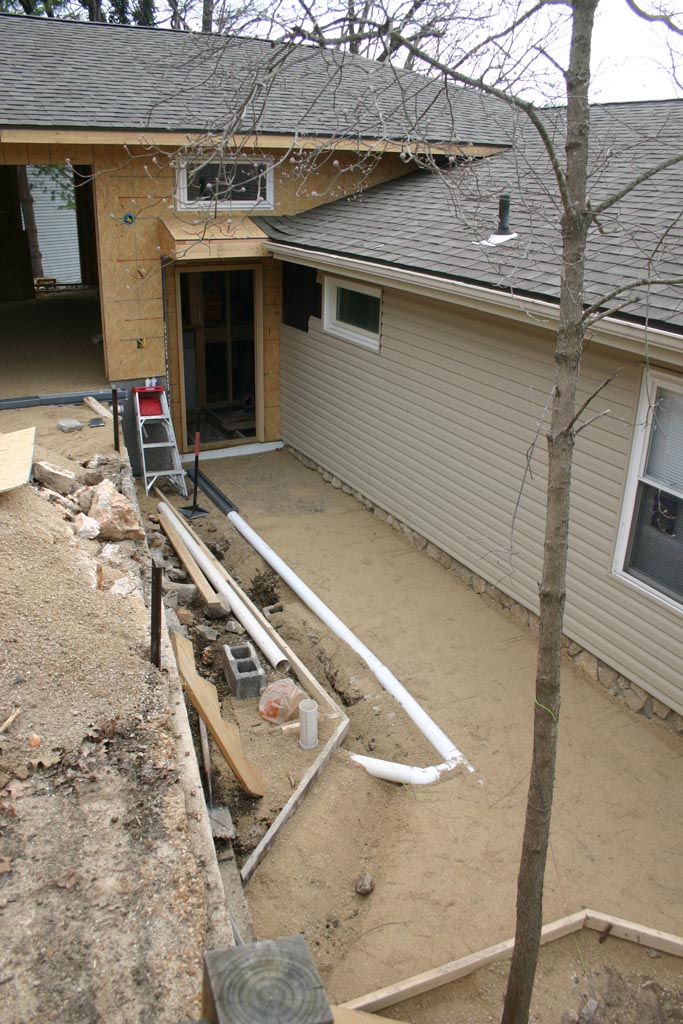 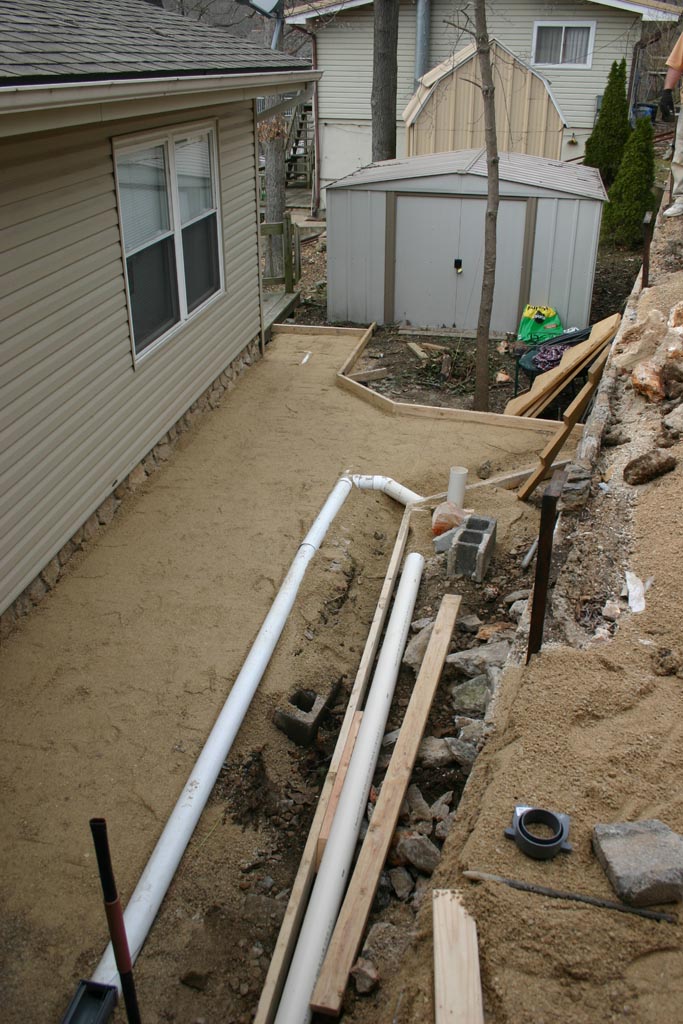 |
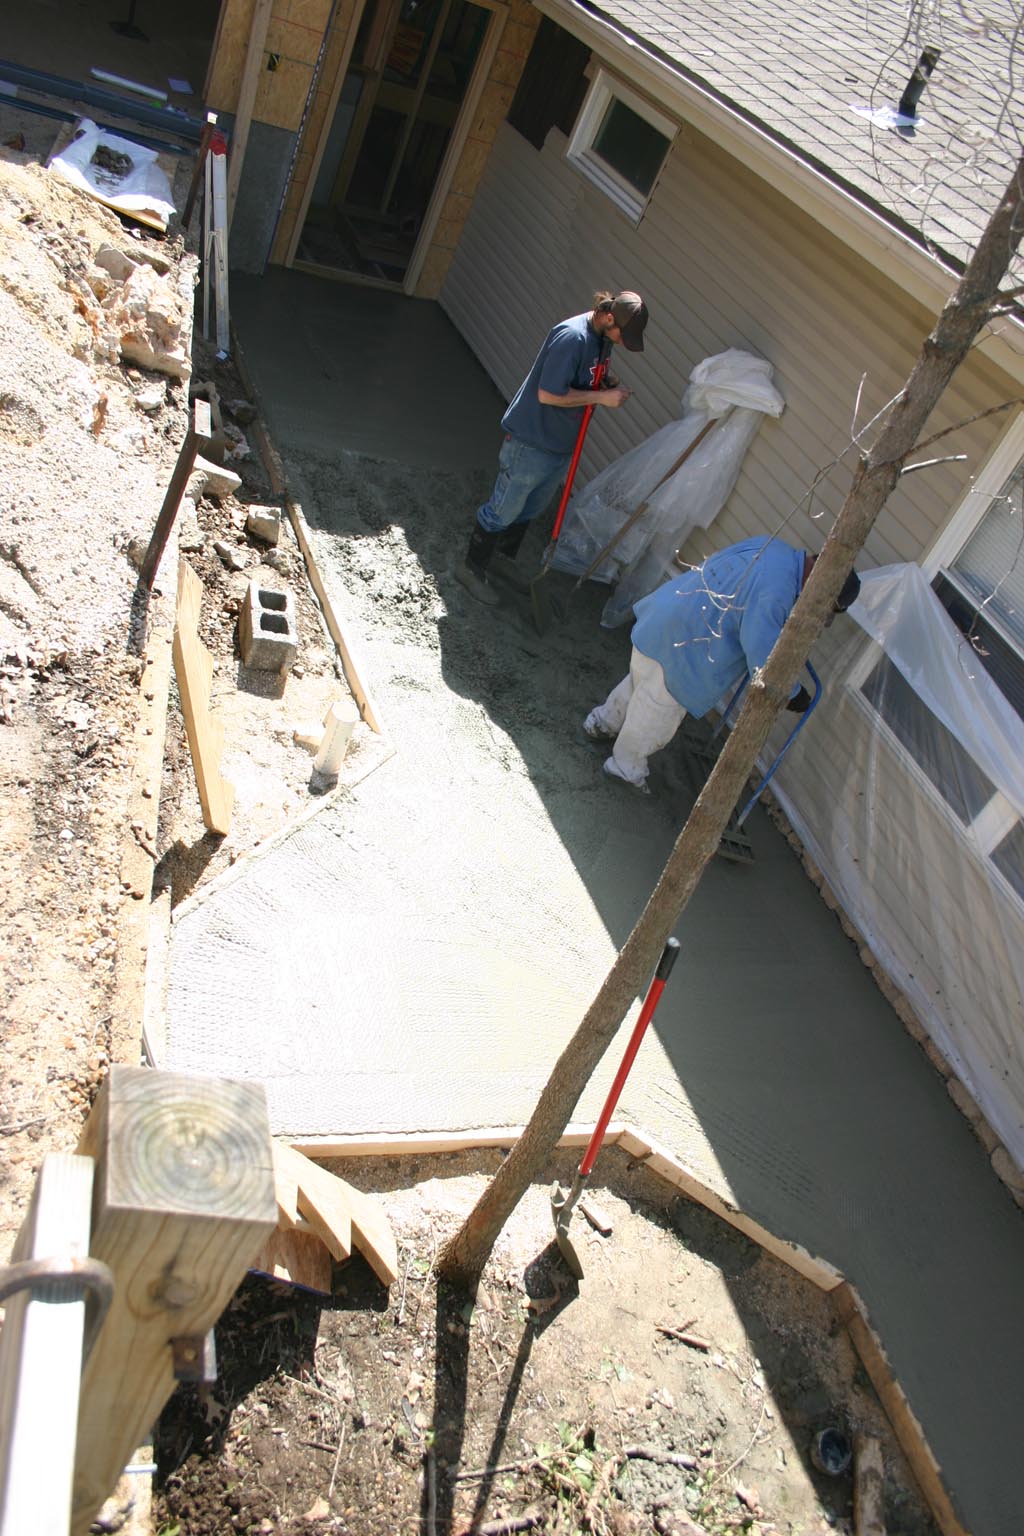
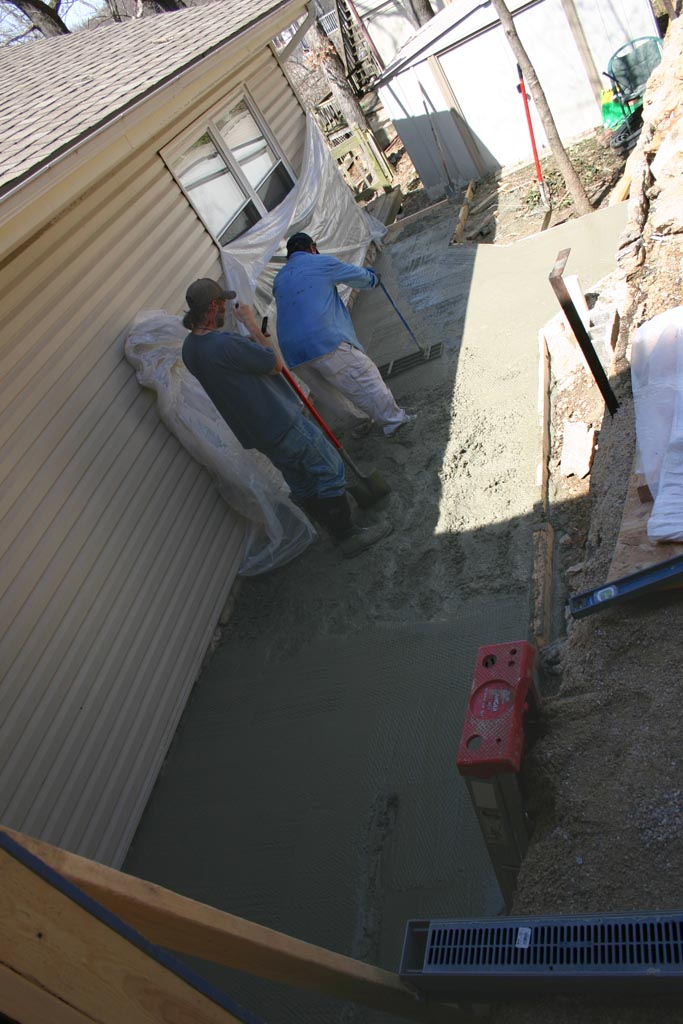
3/24. A lot of interior framing has been done over the month, and pictures don't show well of it. Now that the weather is getting nice, more of the outside work is being done. The sidewalk and drainage system gets laid out. |
  |
The back sidewalk and footings are set up. The garage is filled, ready for concrete any day, now. |
 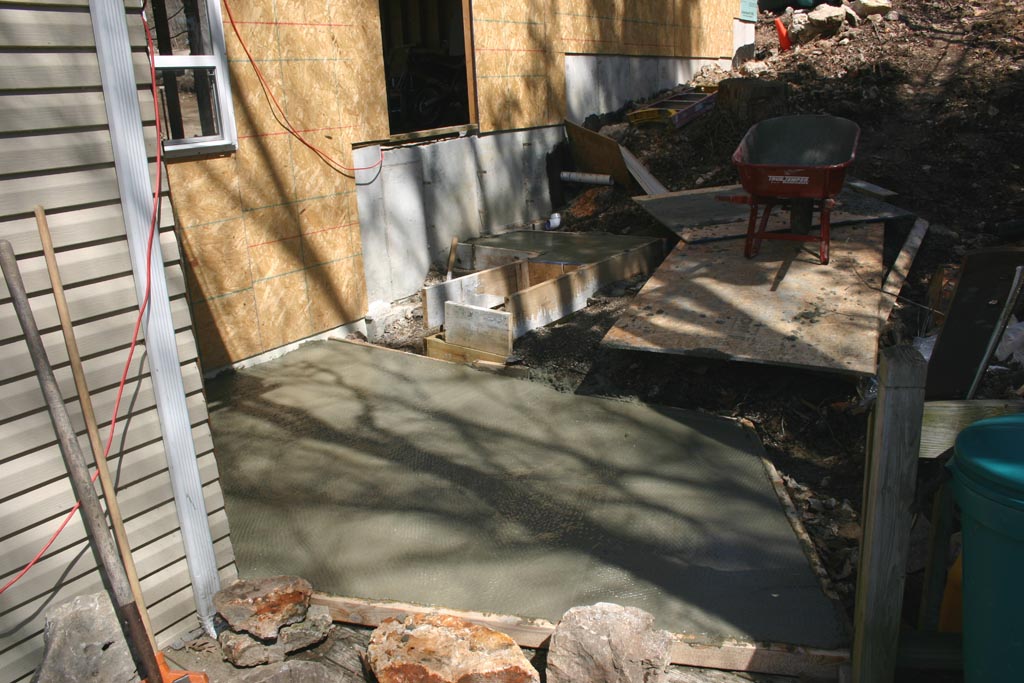 |
I originally wanted a side light for the front door, but space
prevented it. I added the money saved and splurged on a very nice
door instead. Concrete is poured for the rear steps. |
  |
Front sidewalk concrete and footings. |
 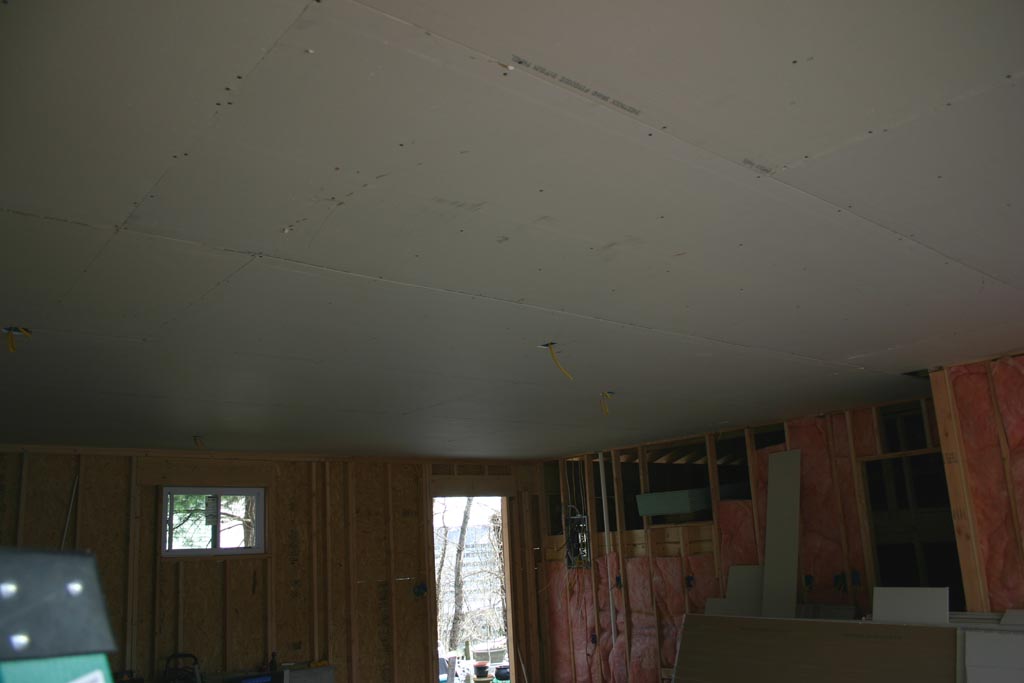 |
4/1. The garage ceiling drywall starts to go up, and gets finished. |
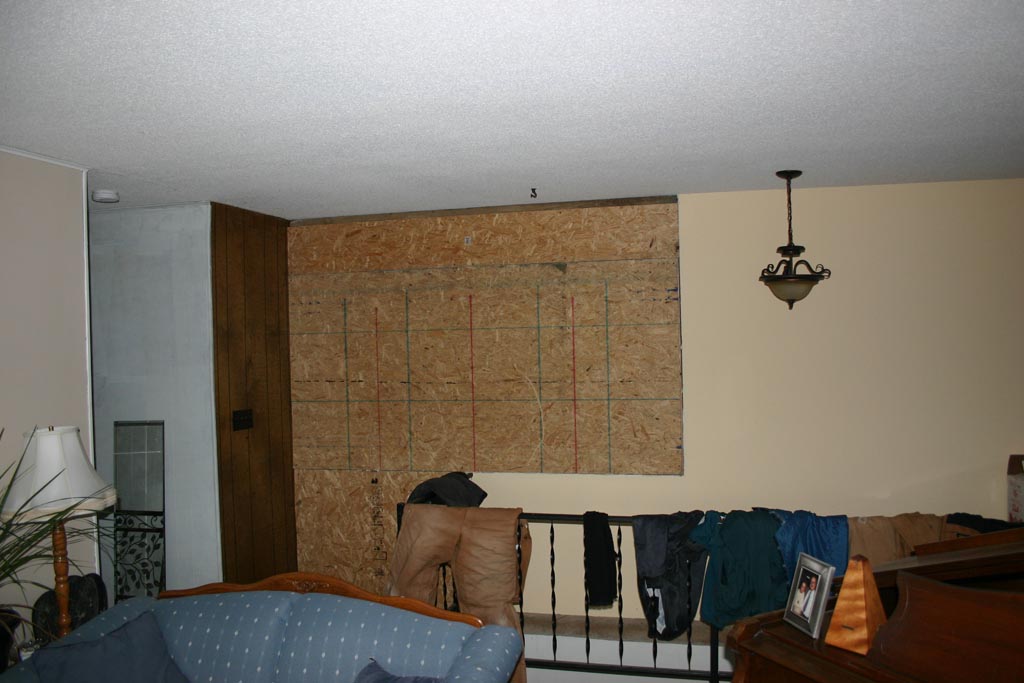  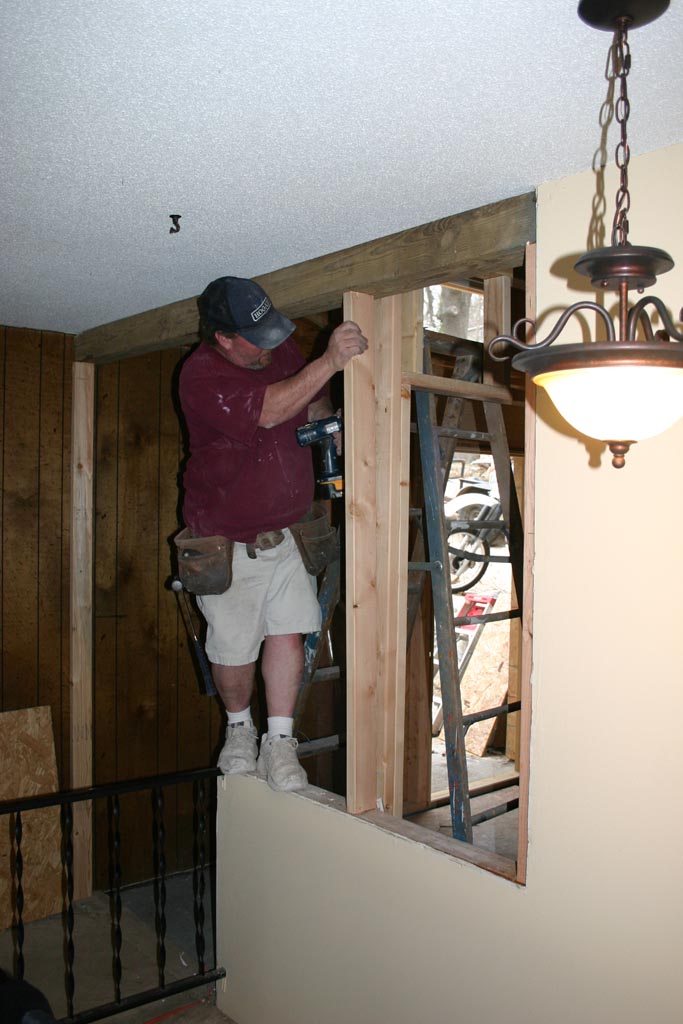 |
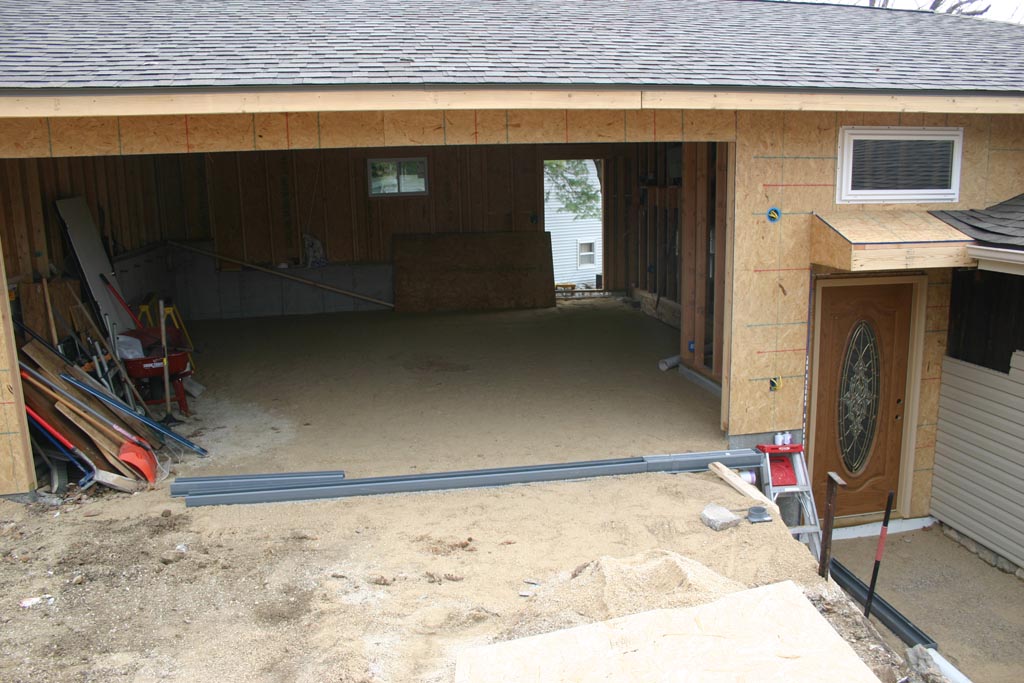
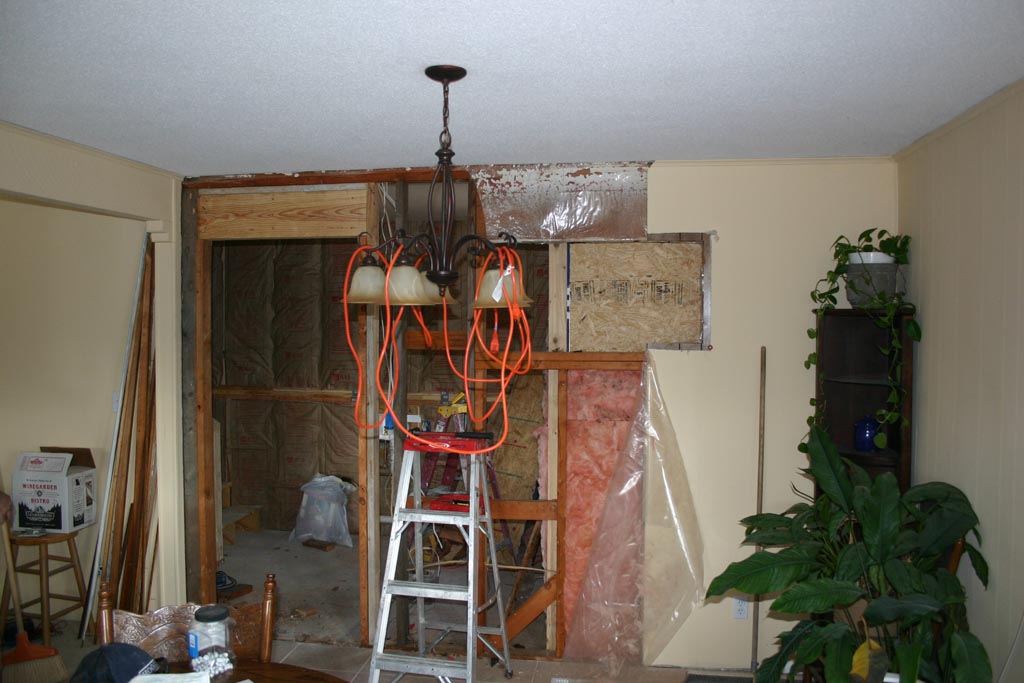
4/2. The drywall on the wall separating the garage/laundry/entry gets done, and it's time to open the old entryway back up again, this time without a door. It had been closed off like this for over a month. You can see the new door in the background. |
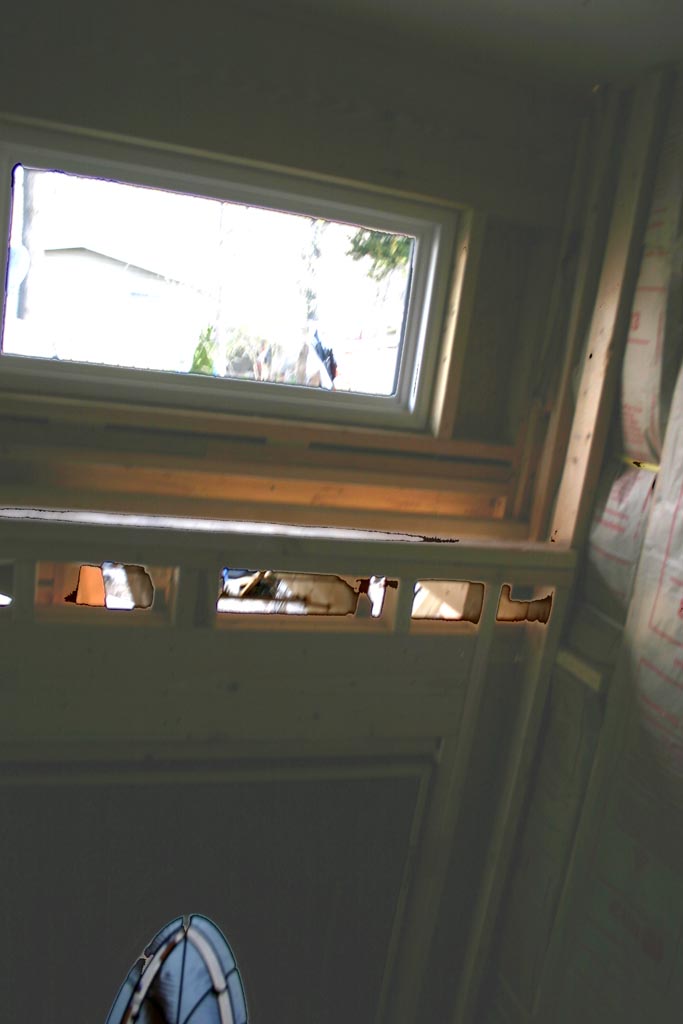 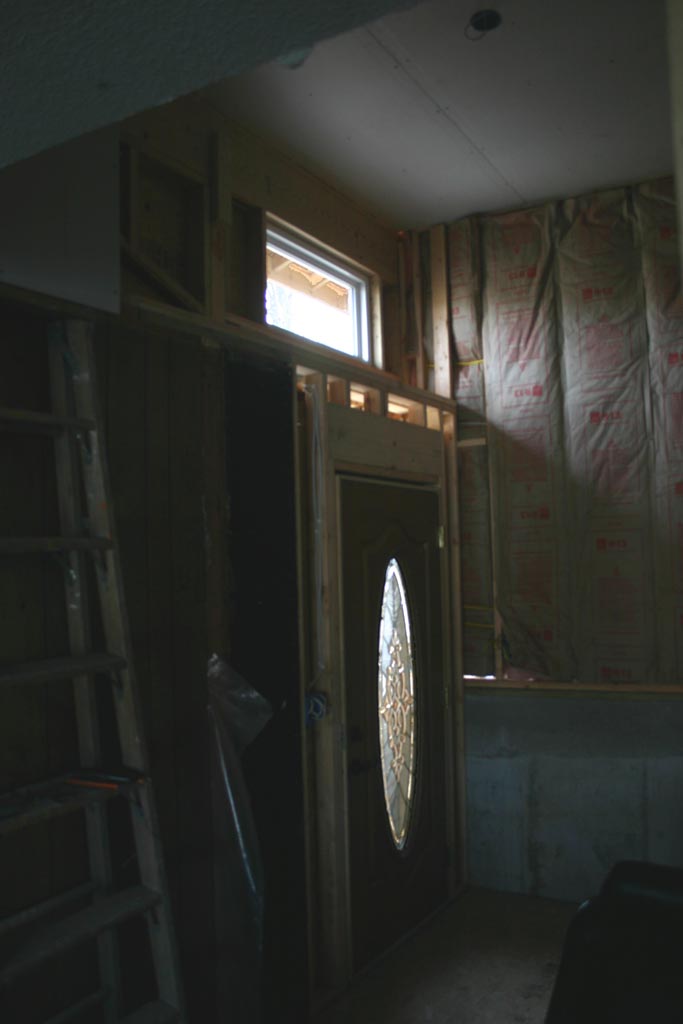  |
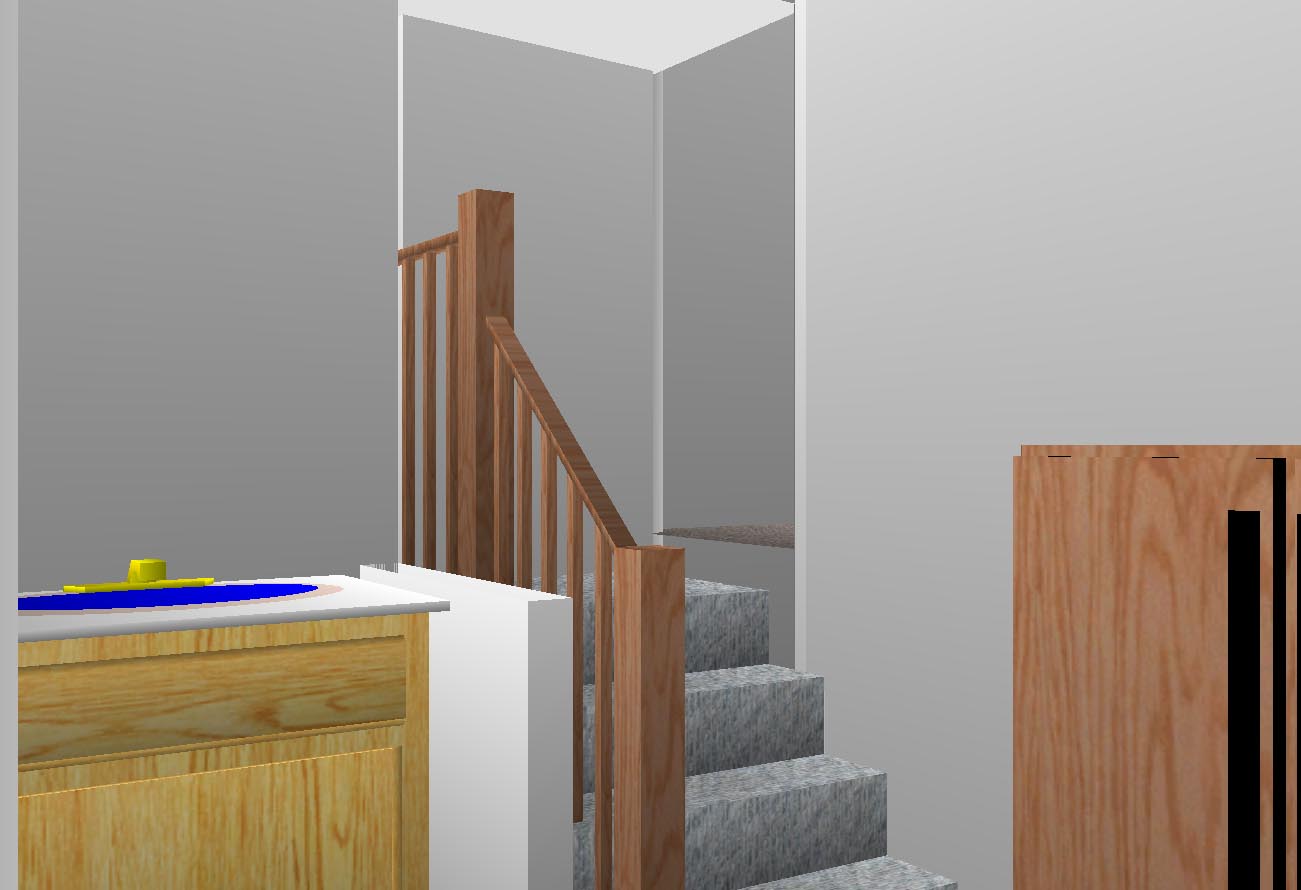
4/4. Better pics of the front entryway door and window above it. In the last pic, you can see the door leading into the garage from the laundry room. It's about 3' higher than the main floor of the house. |
  |
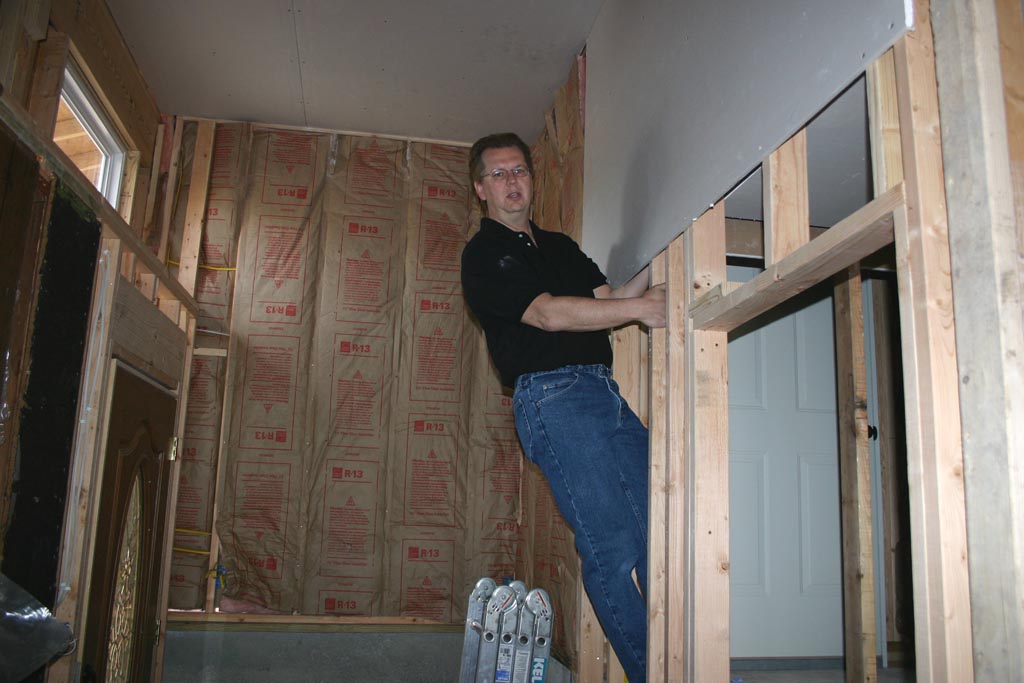
Time to put in the doorway to the new laundry room. The window will
also get moved to the right, and be larger. Doorway opened up and framed. The orange extension cord was put there after the 4th time I hit my head on the light fixture! |
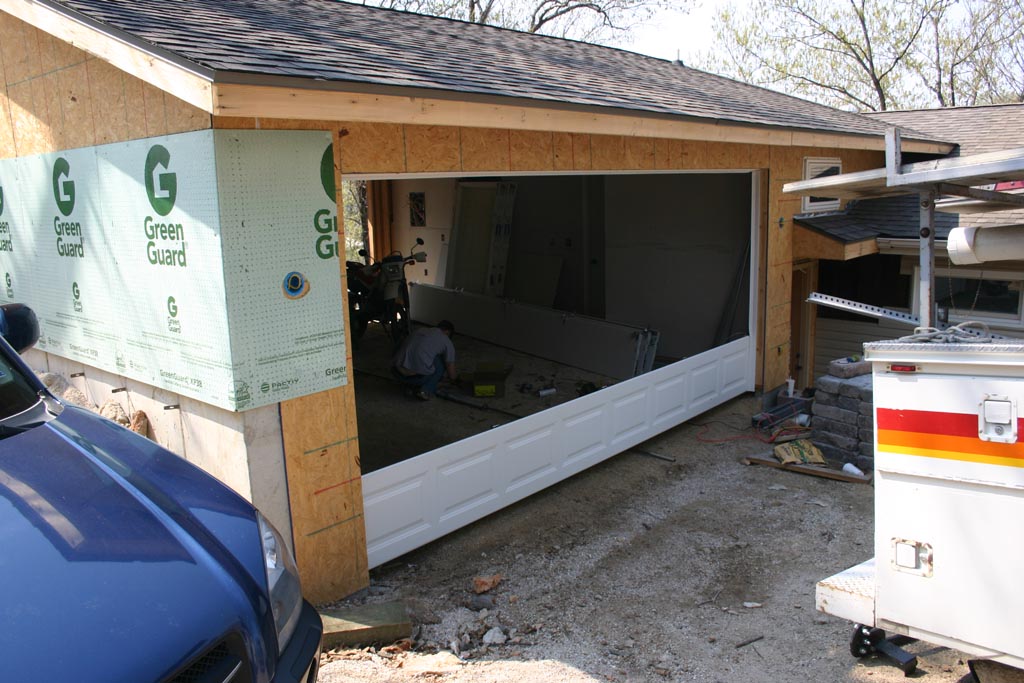  |
Garage door gets put in. |
 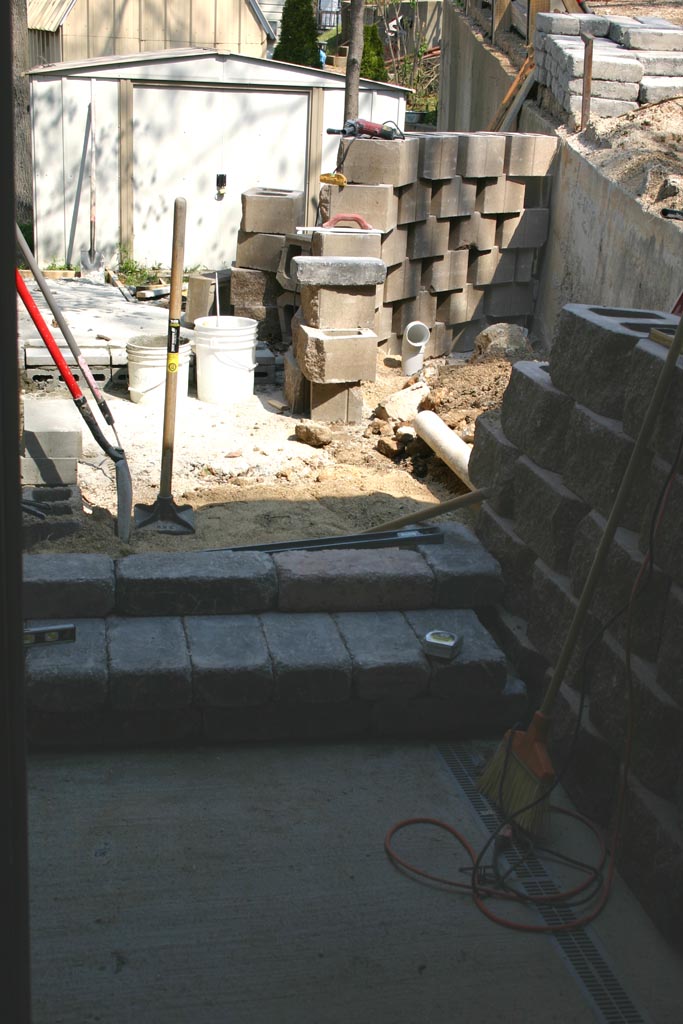 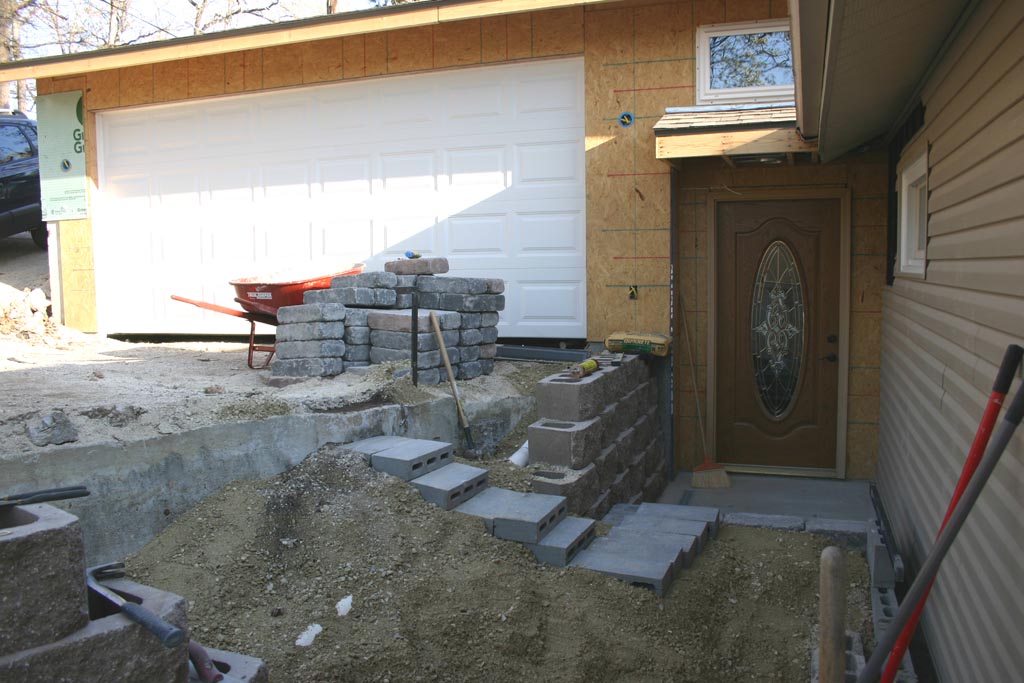 |
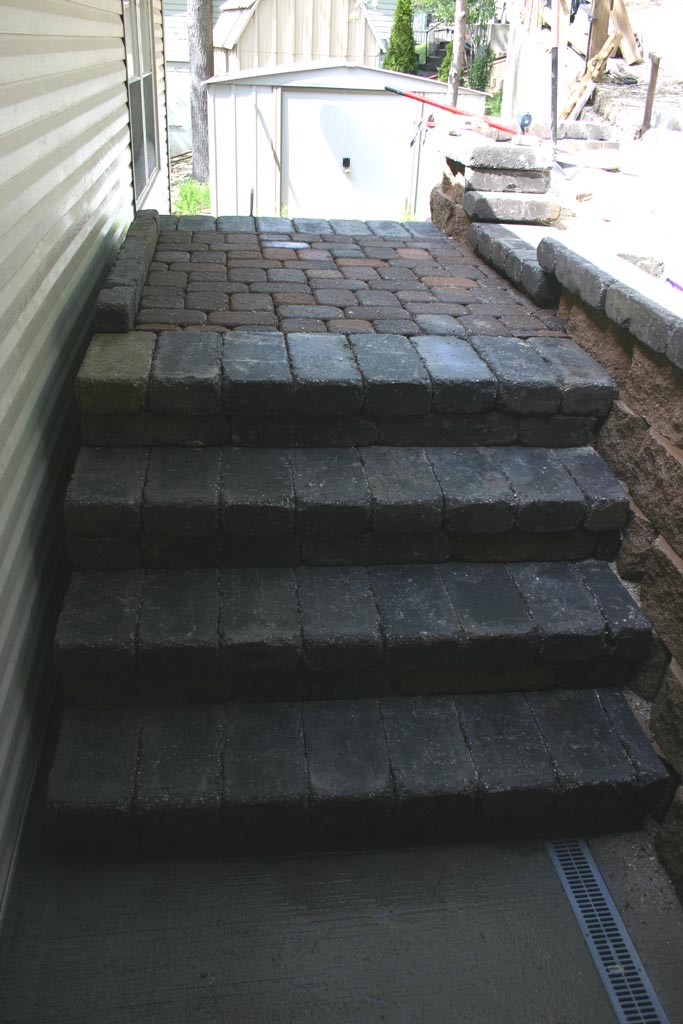
Work on the front stairway continues. I decided on tumbled 4*8*16
pavers for steps and risers. It'll make a nice contrast to the Savannah
retaining wall. The stairway is going to take a lot of fill. Since it's Friday, I tamped down the dirt and made a temporary path with blocks. No more ladder! |
 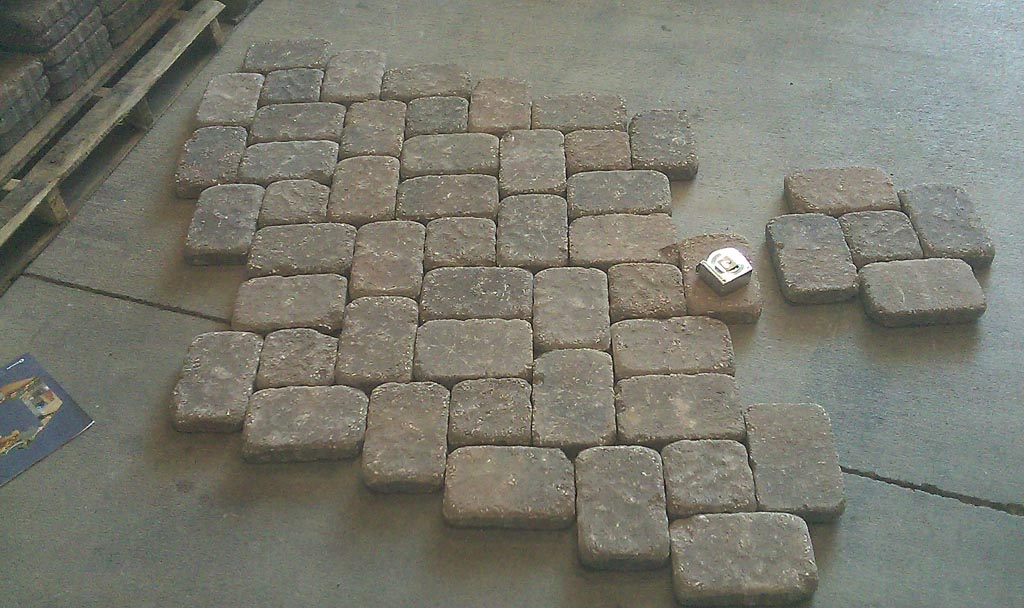 |
Stairway blocks are in. I chose pavers for the top, so the first
thing to do was to put down fine sand and pack it down level. I laid the pattern out on the floor of Lowes so I could figure out how many to buy of each kind. I still ran 3 blocks short because of all the cutting at the edges. The base pattern is at the right. |
 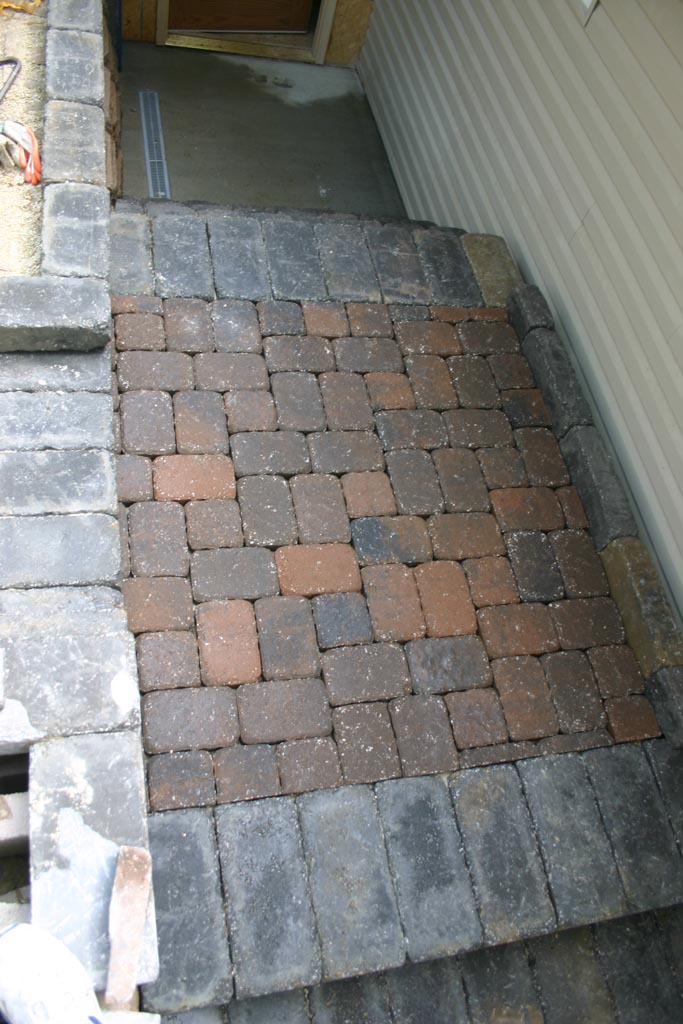 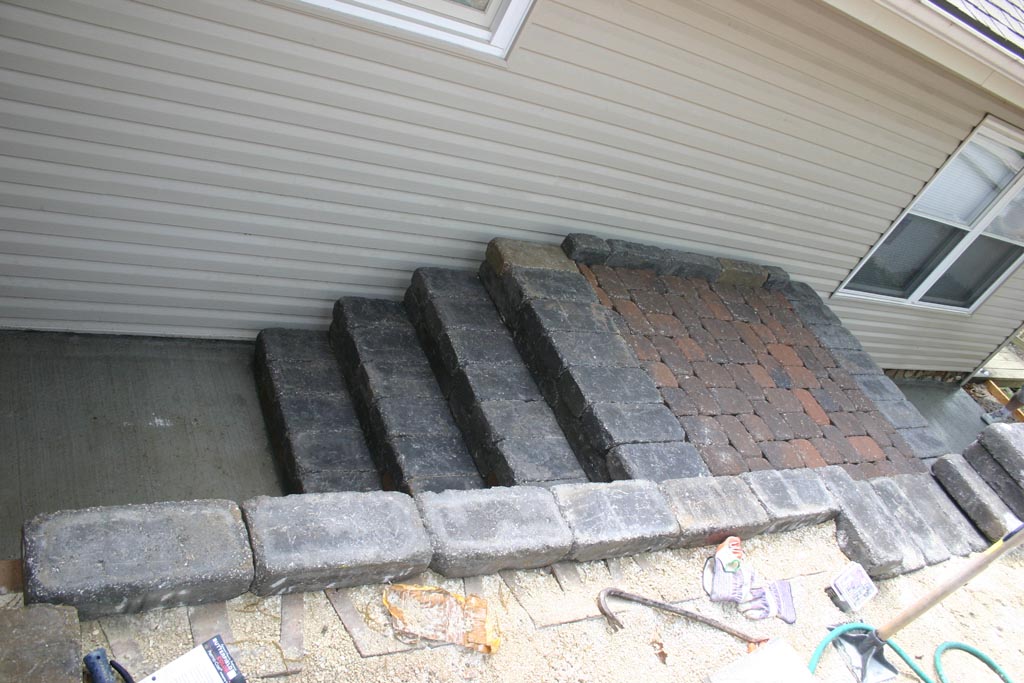 |
Still have to fill in with the polymer sand that'll harden
everything up. Overall, I'm happy with the results and especially the color contrast. Sure beats white concrete. |
 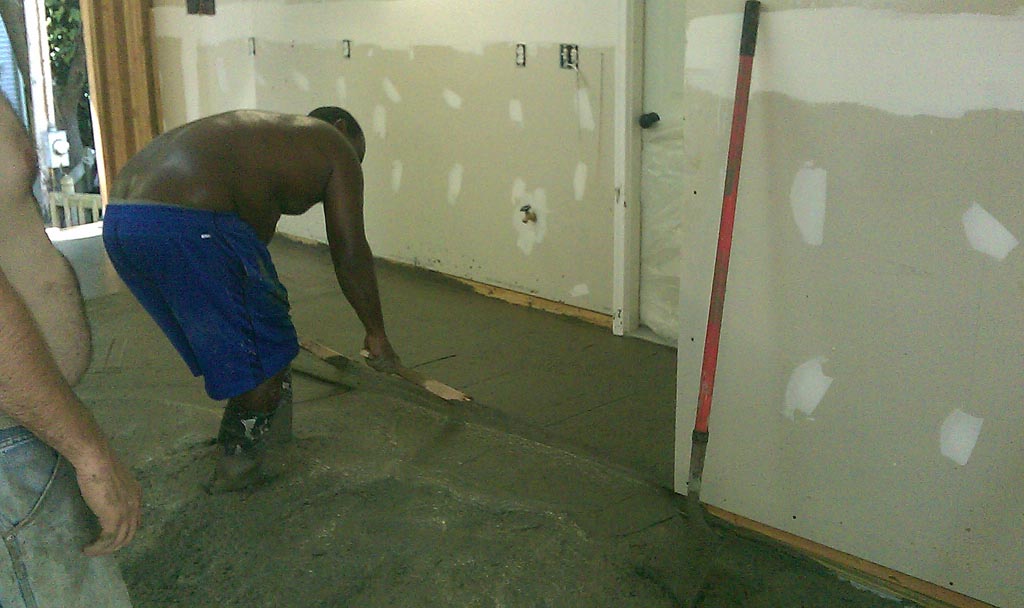 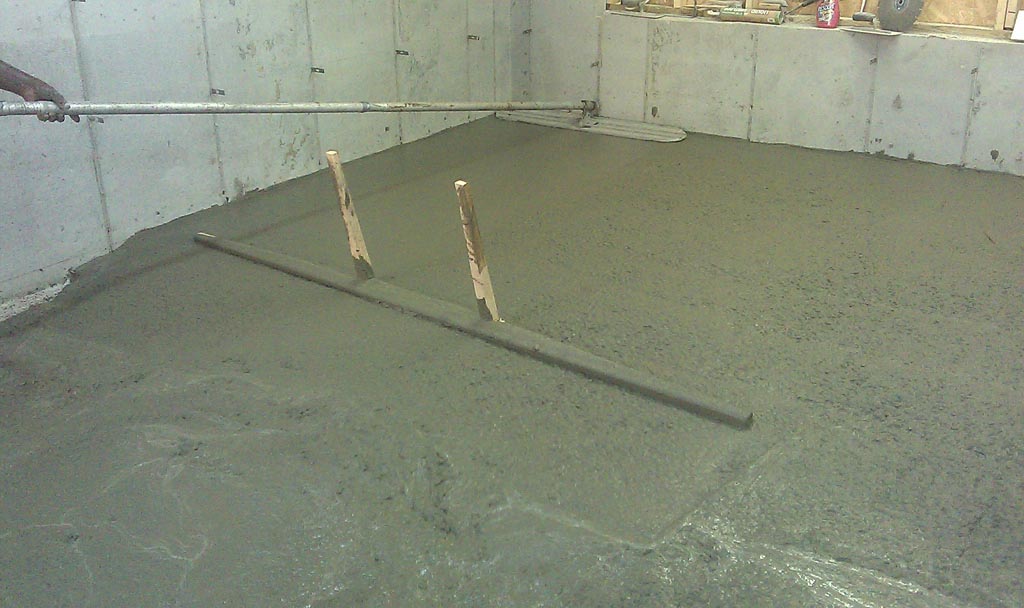 |
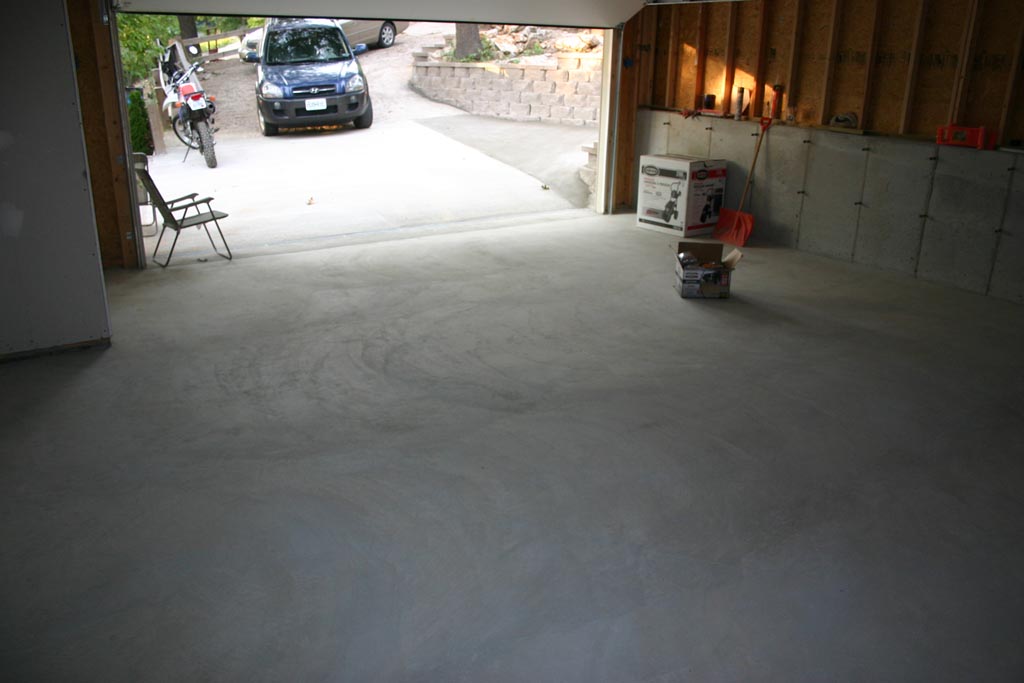
7/29. The garage floor gets poured. The cement guy had a neat tool made to screed the concrete. His attention to detail was lacking though, and I had to go around the perimeter with a flat block to sand down all the rough spots. |
 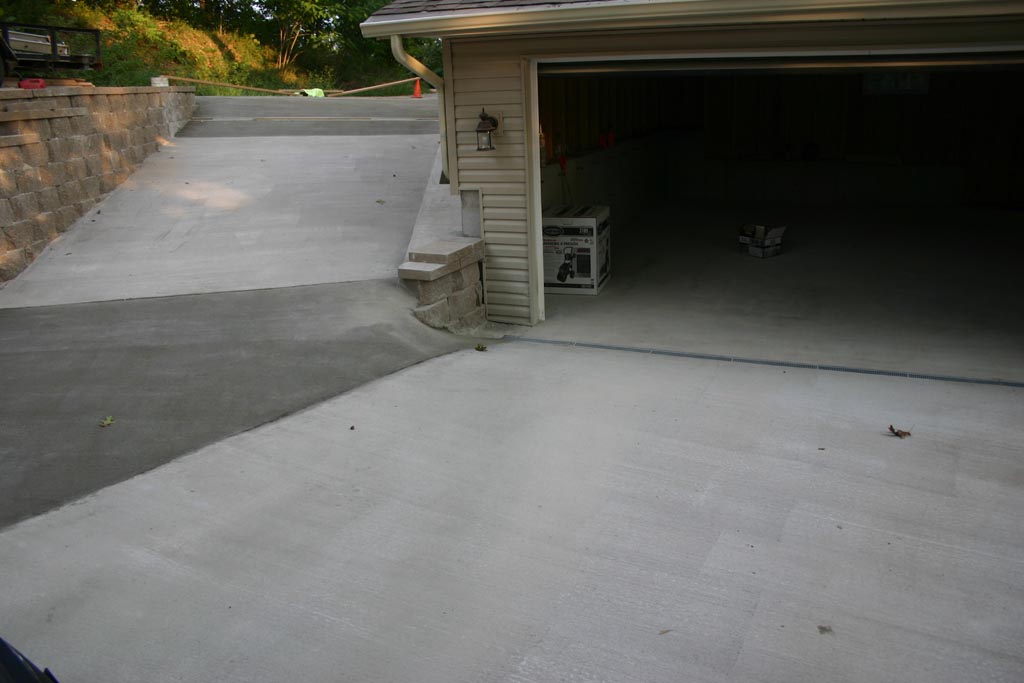 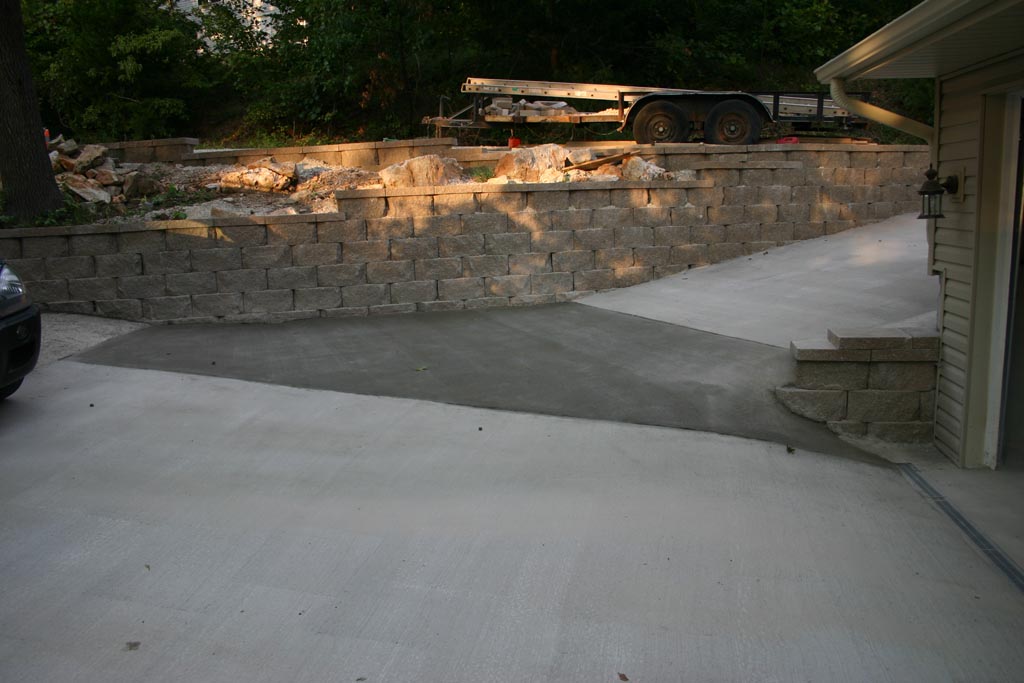 |
8/24. The rest of the driveway gets poured. The retaining wall is also in. |
  |
9/1. The garage portion is finished. I'll build in a workbench and install shelving. Still have to finish the entryway and laundry room tile and trim. The floor epoxy turned out more pink than what the color on the box suggested. Haven't decided what to do about it, yet. |
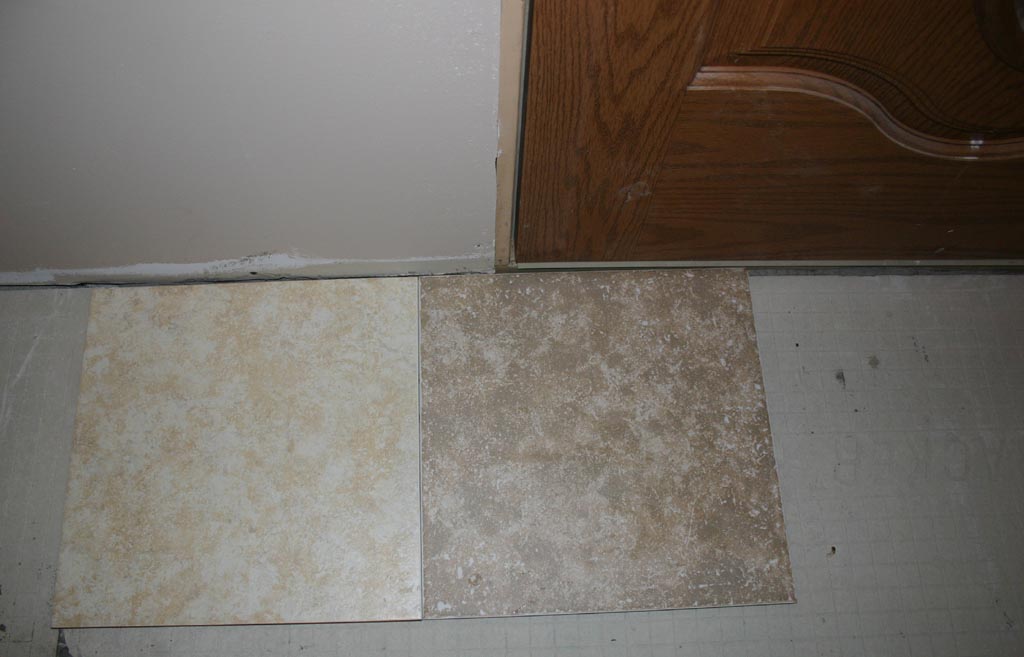 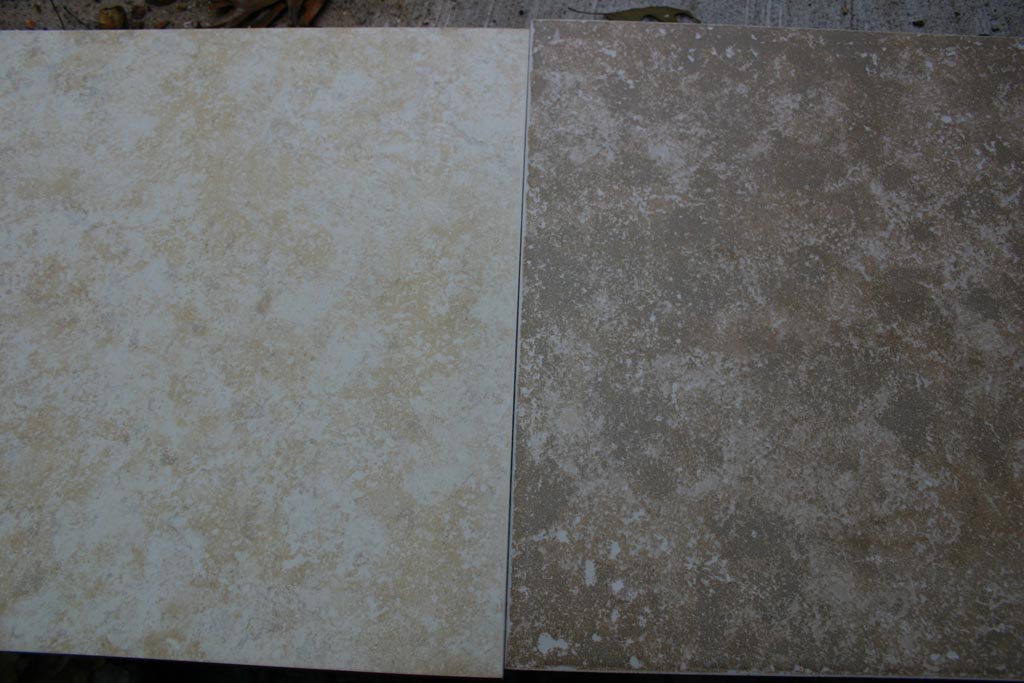 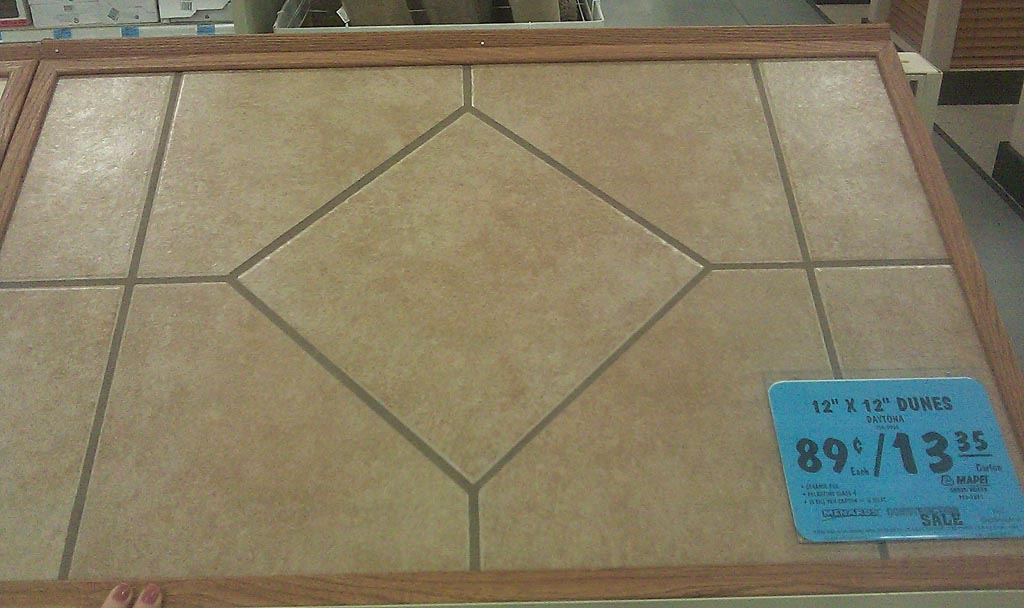 |
Time to pick out tile. I had originally bought the same tile I put in the acreage house, but decided I want to go bigger. I bought one of each of these 16" tile so I could see them in the entryway. Maybe a combination of the two using one of them as the center tile like in the third picture? |